Showing posts with label Hand embroidery stitches. Show all posts

Tuesday, September 9, 2025

Ceylon Stitch - Video Tutorial, How to do ceylon stitch in hand embroidery

 Hi all

Today I am happy to share with you the video tutorial for Ceylon stitch.  This is a traditional hand embroidery stitch, used for filling shapes likes leaves, petals, or any small motif.  It looks somewhat like a woven braid and gives a textured, raised effect.  The thread builds up in a braided overlapping pattern. This stitch can be used in a row to create a decorative braided border.


Video Tutorial 👇👇


Hope you find this tutorial useful.  Have a nice day and have a happy time with your needle n thread.

Thursday, October 10, 2024

Loop Stitch tutorial, How to do a loop stitch - Video

 Hi all

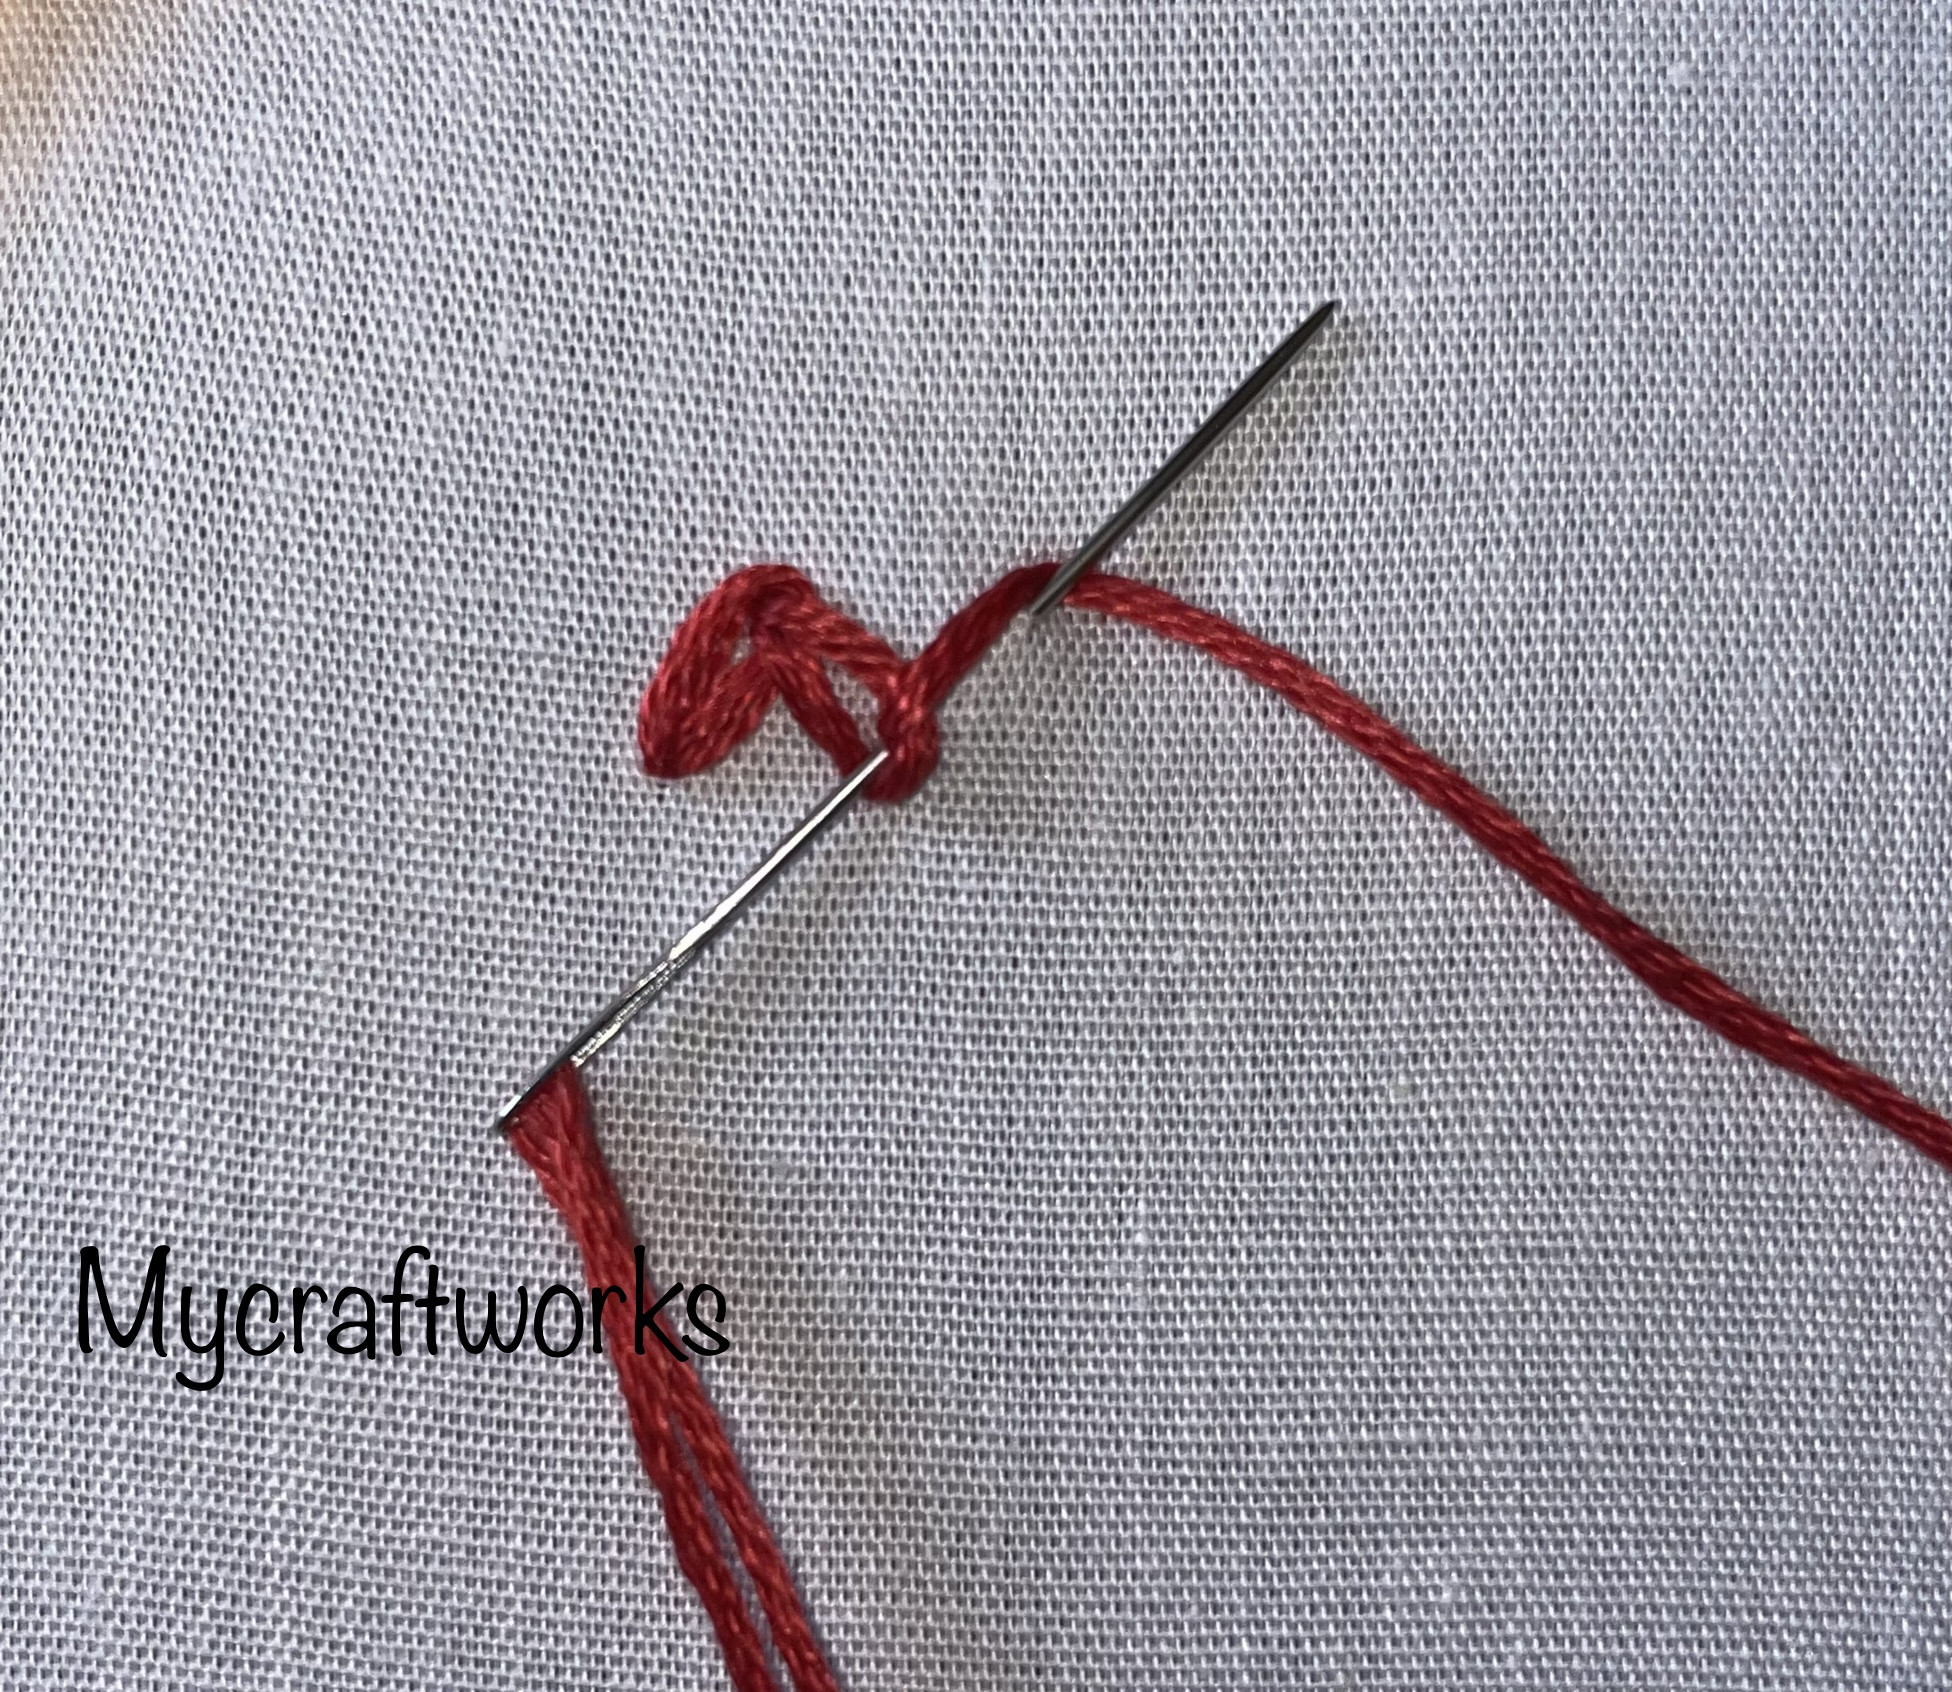
Hope all are doing well and good.  In my embroidery stitch tutorial series, today I have come up with the tutorial for Loop stitch.  This stitch is also known as centipede stitch.  This stitch is a braid stitch category.  It forms a spine along the centre.  Best stitch to embroider a centipede.


Video Tutorial below

In my next post I will come up with a design for this stitch.  See you soon. 

Thursday, March 7, 2024

Buttonhole Wheel stitch tutorial | How to do buttonhole wheel stitch

 Hi all

Today I am happy to share with you all a simple tutorial for buttonhole wheel stitch.  This stitch is made up of buttonhole stitches in round.  This will form a wheel pattern. 

1) To do that stitch first start of with a circle and mark the centre point.  


2) Bring the needle up at one point in the circle

3) From the centre point take a stitch towards the circle with the thread under the needle 

4) Pull through the thread.  You will get the first blanket stitch.

5).  Continue doing blanket stitches around the circle starting from the centre.


6)  To finish off insert the needle behind the first blanket stitch 

7)  Buttonhole Wheel Stitch is made.

You can add a French knot or a bead in the centre to form beautiful and simple flowers.  

You can find the video tutorial here.

Hope you all find this tutorial useful.  see you soon with another interesting design.  Till then, have a nice time with your needle and thread. 

Tuesday, February 7, 2023

Flat Stitch - Hand embroidery stitch Video

 Hi all 

Hope all are doing well and good.  I am happy to share with you the video tutorial for flat stitch. 


Video Tutorial 👇👇👇

Design to practice flat stitch is here.

Hope all of you like this tutorial and design.  Tomorrow I will be posting a neck design with pattern and video tutorial.  Till then have a nice day.  

Friday, December 16, 2022

Indian Edging Stitch - Hand Embroidery Stitch Video

 Hi all

Hope all are doing well and good.  Today I am happy to share with you the video tutorial for Indian edging stitch.  


Video Tutorial


I will soon update this post with the picture tutorial.

Hope you find this tutorial useful.  Will be back soon with a simple border design.  Till then, have a nice day & have a happy time with needle and thread.

Tuesday, May 3, 2022

Zig Zag Chain Stitch - Hand embroidery stitch tutorial

 Hi all

Hope all are doing well and good.  Today I am happy to share with you the tutorial for zig zag chain stitch.  This is similar to chain stitch but worked in a zig zag manner.  

Video tutorial here

In the following link you can see how I have applied this stitch to form a neck line. 

Simple embroidery design

Now let's move on to the tutorial for zig zag chain stitch.

Start with a normal chain stitch but in a slanting manner from bottom to top right. 


Pull through the thread.  A slanting chain stitch is formed.

From inside the chain stitch take another stitch slantingly towards bottom as shown.

Pull through the thread.  Next chain stitch in zig zag manner is formed.

Next stitch should be slantingly from inside the second chain towards the top right.

Continue in this manner along the stitch line and anchor the thread outside the last chain.  

A line of zig zag chain stitch

Hope this tutorial is useful.  Will be back with another stitch tutorial soon.  Till then, have a nice day.

Wednesday, April 27, 2022

Kashmiri Ball Stitch Tutorial/How to do Kashmiri Ball stitch

Hi all

Hope all are doing well and good.  I have some stitch tutorials and designs ready in my hand.   I am not able to post it here as I am concentrating a bit more on my youtube channel.  So before it piles up let me post it here one by one.  

Today I am happy to share with you kashmiri ball stitch.  It is very simple and easy stitch.  This stith can be used as an all over design for your dresses.  

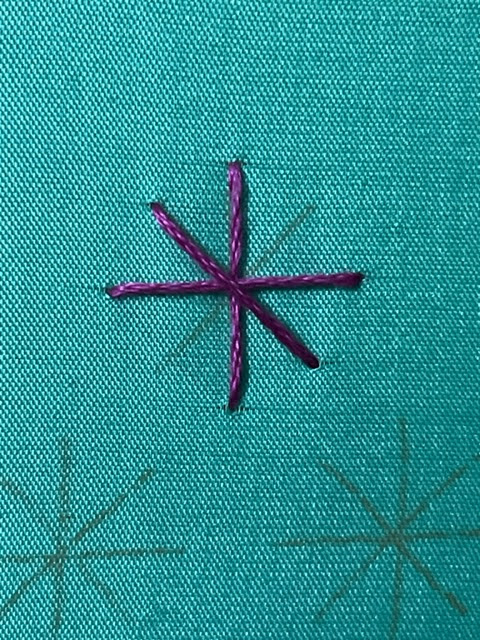
Let me show the steps involved in doing a kashmiri ball stitch.  This is a picture heavy post.  I am going to work 4 kashmiri ball stitches in the following design.  This stitch is worked using the spokes as the base.  The number of spokes depends upon the design we are going to embroidery. 


Here I have used 1 horizontal and 1 vertical spokes in the shape of '+'.  Then two slanting spokes in the shape of  'X'.  Slanting slopes are little bit smaller than the horizontal and vertical spokes.  


Start with the straight stitches in the following order shown in the pictures below.


The base stitches are completed.

Since the stitches are straight and in order to keep them in place I have make two rounds of woven stitch around them.  That is going over one stitch and then under the next stitch.

Bring the needle up in the centre and do the woven steps as shown.

Bring the needle under the horizonal and vertical lines and over the slanting lines.  do this for two times.


After completing two rounds anchor the thread by going down at the point where it comes up. 


Now we are going to make the balls.   In any one straight stitch make a small straight stitch the one below. It should keep the straight line in place and the small stitch divides the straight line into upper and lower part.  

Bring the needle up through the fabric near the small stitch.  

Now pass the needle under the upper part and then under the lower part also.


Do it two more time.


After three rounds anchor the thread by going in through the point where it comes up.  If the space between the spokes are more you can do more rounds to make big ball.  

Repeat the same steps for the other spokes also. For the horizontal and vertical spoke I have made three round and for the slanting spokes I have made two rounds to make some difference. 


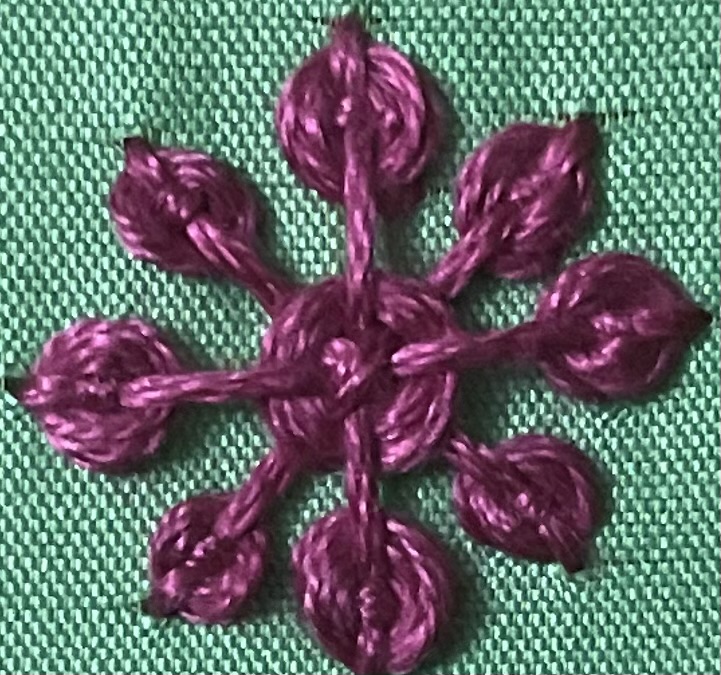
This is one completed kashmiri ball stitch.  


A close up.


The following picture shows a kashmiri ball stitch with more number of spokes. 

Hope you find this tutorial helpful.  Do drop in your feedbacks in the comments section.  I will be back with another interesting stitch tutorial soon.  Till then, have a nice day. 

Thursday, January 27, 2022

Pueblo Stitch - Hand Embroidery Stitch Tutorial

 Hi all 

Hope all are doing well and good. In the embroidery stitch tutorial series today I am happy to share with you the tutorial for doing pueblo stitch. I have seen it as a variation of split stem variation at first and while googling it has been given as a variation of back stitch. But after working it, the pueblo stitch is apt under the family of stem stitch.  

Video tutorial is below

This stitch uses two colour of threads.  For this tutorial I have used 3 strands of red and 3 strands of blue.  Totally 6 strands are used.  This stitch gives a braid like effect. Now let us move onto the tutorial.

1). Bring the needle up at one point. Take a stitch as you take for the stem stitch.


2) Before pulling through the thread split the threads as shown . I have splitted so that the blue thread comes down and red colour goes up. Now pull through the thread.

3) One stitch is formed 

4) Now take the next stitch as we do for stem stitch and this time split the thread so that red colour comes down and blue colour goes up.  Pull through the thread thread.

5) Continue this process alternating the colours up and down.


6) A line of pueblo Stitch is formed

The second line in the below picture shows the pueblo stitch keeping the red colour thread down and blue colour thread up throughout the stitch line.

Hope this tutorial is useful.  If you find this tutorial useful do drop in your feedback’s in the comments section.

Till then, have a nice day.
*/