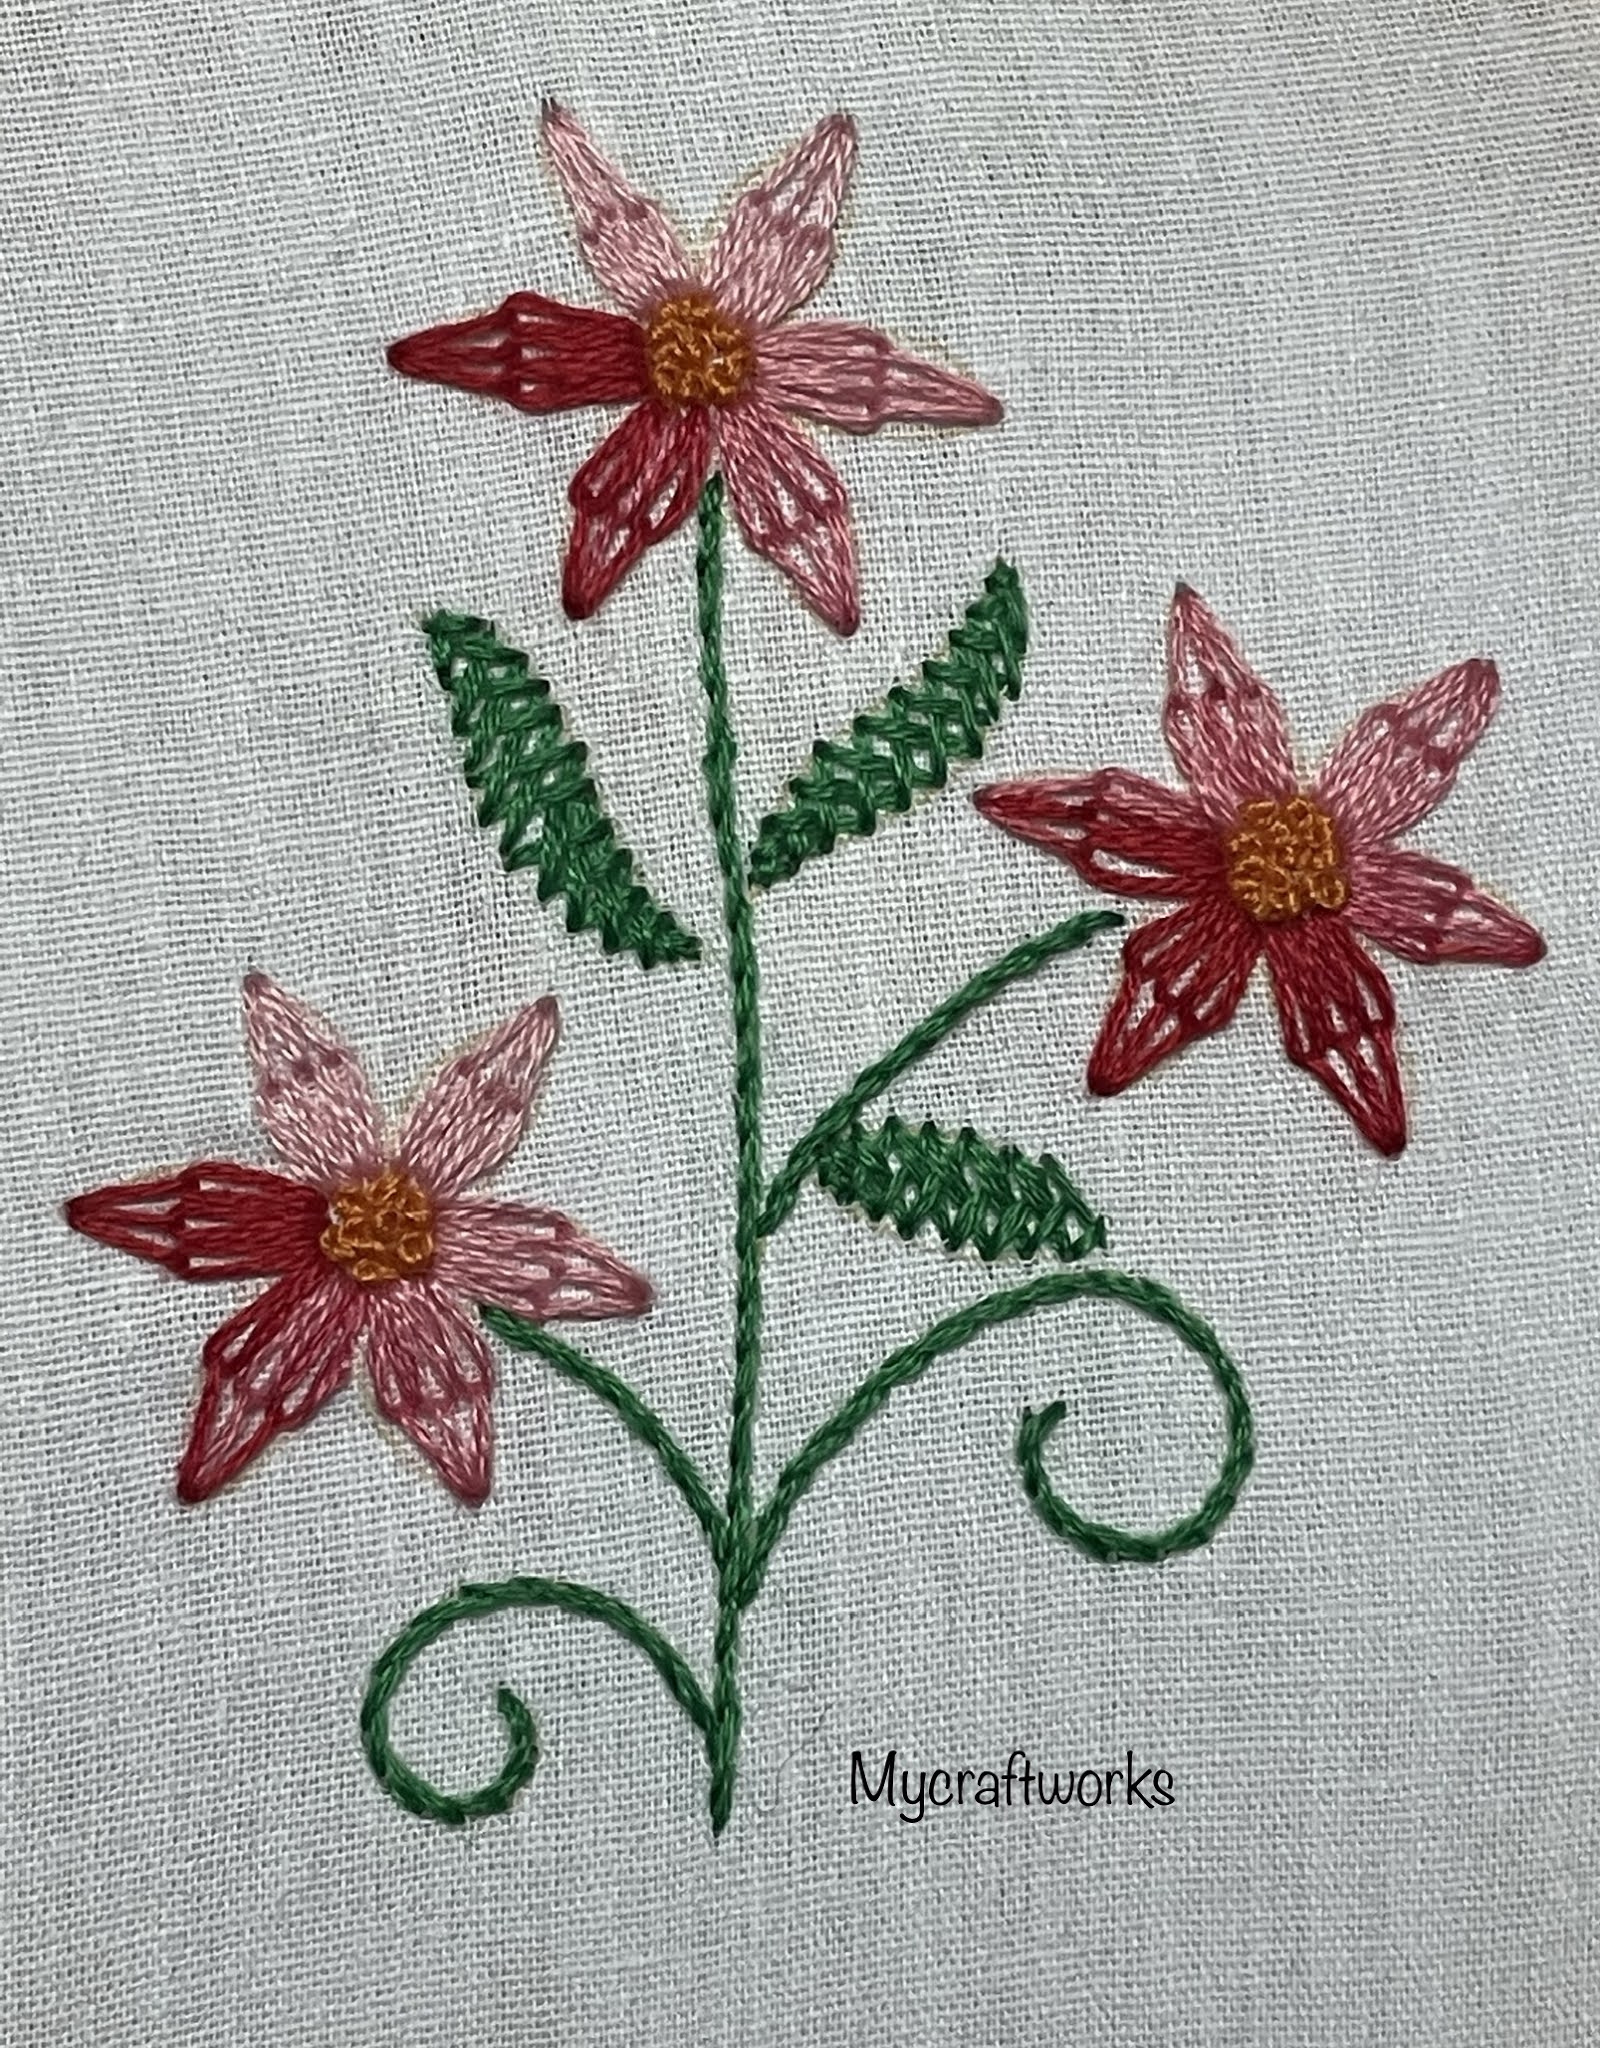
Whenever I think about creating a new embroidery design, it is only floral patterns that draw me in. Flowers are something that have always been attractive to me.
This time, I’ve come up with a simple floral design. It can be embroidered as individual, standalone motifs scattered across a saree. If you create this design in a continuous, slanted pattern, you will get a neat and simple border design.
Video tutorial below
Pattern for the design
-----------------------
This design fits a 11 x 7 cm box
I have used simple stitches and minimal colours for this design. Beginners can do it easily.
Stitches Used
Flowers - Buttonhole stitch starting from same point - 3 strands
Hope all are doing well and good. Today I am happy to share with you a simple flower bunch design that uses easy stitches. This design is apt for beginners. Hope you all will like it.
Video tutorial
---------------------
Pattern for the design
--------------------------------
Stitches Used
-------------
Leaf - Lazy daisy with open base(3 strands)
Flowers - Two straight stitches for each petal / Granitos stitch(6 strands)
Centre of flower - French knot (6 strands, 1 wrap)
Stem - Stem stitch (3 strands)
Threads used - Anchor
--------------------
Leaf - 281
Flowers - shades of blue
142 - dark
154 - medium
128 - Light
French knot - 106
Hope you all like this design. Do give a try. See you soon with another design. Till then, have a happy time with needle n thread. Happy embroidering.
Hope all are doing well and good. Today I am very happy to share with you a simple embroidery design. I have used rangoli dots as a pattern to embroidery this design. Hope all of you will like it.
Dark Pink flowers - Lazy daisy with straight stitch from inside ( 6 strands)
Light pink flowers - Tulip stitch with two green straight stitches through the tail of tulip stitch(6 strands)
A straight stitch from the tail of the tulip stitch to centre flower(6 strands)
Added beads to the centre of flowers
Video Tutorial
-----------------------
Hope all of you like this design. I will be back soon a stitch tutorial. Till then have a nice day.
Hope all are doing well and good. Today I am happy to share with you a simple flower design that uses blanket stitch as filling. This design can be used as a centre design for cushion covers. Even beginners can also try this.
Pattern for the design
——————————
I have used blanket stitch to fill the petals. Then outlined the petals with chain stitch. The spokes in the centre is embroidered using blanket stitch. And the centre of the flower is filled using French knots.
To embroider this flower I have used 6 strands of thread and for French knots 12 strands of thread with 1 wrap has been used.
Here is the video tutorial to work this flower
Hope all of you like this flower embroidery. See you soon with another post. Till then have a nice day and have a nice time with your needle and thread.
I have used 3 strands of thread for parallel running stitch and 6 strands of thread for twisted fly stitch. Also I have glued half Pearl beads at the end of twisted fly stitch. Instead you can make French knots with 12 strands & 1 wrap. This also looks good in monochromatic colour.
Below is the complete neck pattern for the blouse with 5 and a half inch depth in the back. You can print it in a A4 paper and can use it for your personal use.
Hope all of you like this design. See you soon with another simple embroidery work. Till then, have a nice day and have a happy time with your needle and thread.
Hope all are doing well and good. Today I am happy to share with you an embroidery design that uses satin stitch for flowers and leaves. This design can be used as an all over design for Kurtis and sarees.
Video
Pattern for the design
————————————
Stitches used
——————
Flowers - satin stitch- 3 strands
Centre of flowers - French knots - 6 strands- 2 wraps
Hope all are doing well and good. Today I am happy to share with you a simple embroidery flower design that uses petal Chain stitch. It is a very easy stitch. The design can be used as all over design for your dresses.
Video tutorial
Pattern for the design
———————————
Stitches used
———————
Flower- Petal chain stitch
Centre of flower - French knots
Leaves - satin stitch
I use 6 strands for the complete design. For French knots 2 wraps have been done.
Hope all of you have liked this design. Do give a try and drop your feedback’s in the comments section.
Have a nice day. Have a happy time with your needle and thread.
Hope all are doing well and good. Today I am happy to share with you an embroidered finish. I have started doing pachis work in a plain raw silk material two weeks back and it's completed today. So happy with the finish.
I have embroidered only in the yoke portion and the sleeve border.
Yoke
sleeve border
Lazy daisy flowers are done in between the pachis work. The tutorial for pachis work is available in my youtube channel. Kindly have a look at my channel and if you are interested kindly subscribe.
Pattern for the design
----------------------------
I have provided the pattern for the sleeve border only. This pattern is expanded to form the yoke. So you can print this pattern in an A4 paper and place a tracing paper on top of that and draw the pattern according to your wish.
Hope all of you like this design. This embroidered piece is ready for sale. If you are interested in getting this piece kindly contact me at shamiimmanuel@gmail.com or embroiderytutorialsanddesigns@gmail.com.
See you soon with another post. Till then happy embroidering and have a nice day.
Hope all are doing well and good. Today I am happy to share with you a neck design that I have designed for my kurti. This is a very simple but elegant design that uses holbein stitch to embroider it. If you are new to embroidery and if you like geometrical designs you will surely love this design.
The fabric I have used is silk cotton fabric. I have used anchor embroidery thread numbers 1089 & 293. I have used three strands of thread throughout the design.
Let me show the neck design.
Sleeves
Closeup of the design
Pattern for the design
You can print these pattern in an A4 paper. No scaling is necessary. Keep it under a tracing paper and draw the complete neck and then transfer it to the fabric. I am providing this pattern for free. Use it for your personal use. If you want to share it please provide a link to this page.
If you like my videos kindly subscribe and share it with your friends. If any of you have tried this pattern send your embroidery to shamiimmanuel@gmail.com. I will be happy to see them.
Hope all are doing well. Sometime back I have embroidered a lazy daisy design for a dress. Today I am happy to share with you the video tutorial for the same. Added granitos stitch for the buds instead of lazy daisy stitch. Do watch it and give your feedbacks.
You can view all my video tutorials in my youtube channel. If you are interested in watching embroidery related videos kindly subscribe and support.
Hope all are doing well and staying safe. Today I am happy to share with you the video tutorial for a simple embroidery flower that has been done using long tailed daisy stitch. Already I have posted a design to work this flower.
I have recorded the video for the same design and you can view it below.
This design can be used an all over embroidery design for kurtis and sarees. Also it can be altered to form borders and necklines. It is a simple and easy design even a beginner can also give a try. So do give a try. Drop in your feedbacks in the comments section.
I will be back with another embroidery stitch tutorial in my next post. Till then have a nice day and have a great week.
Hope all are doing well and good. I am happy to share with you an embroidery wreath design that uses Granitos stitch. It fits a 5" hoop perfectly. Already I have posted a small flower design.
I am on youtube now in the name "Embroidery stitches and Tutorials". I am presenting all the stitch tutorials as a video, compiled from the pictures used in the blog. Instead of scrolling down the page you can see as a video there.
Hope all are staying safe and doing good. It's been a long time I have done embroidery on a saree. Saree is our traditional dress and I used to wear saree for all special occasions and for church services on every Sunday. When I started to do embroidery I have embroidered some sarees. You can view my kamal Kadai saree and kutch work saree.
Last year before lockdown when I went to shopping I have seen this material and I purchased five anfd a half metres for saree and a matching blouse to go with it. Every time I used to embroider the border for the whole saree and it will take a long time to complete it. So this time I have decided to embroidery some motifs with a corner design and a big design for the shoulder part.
First have a look at the fabrics.
The fabric is a mix of rawsilk and polyster cotton. The color is mix of yellow and maroon. I had a tough time selecting the threads and finally came up with maroon, blue and green.
Regarding the design I have selected a simple design using buttonhole stitch and lazy daisy stitch. I have worked one motif in the pallu border. I have used 3 strands of thread throughout the design. Have a look at the motif that is going to be used throughout the saree.
For the centre of the flowers I have decided to use half beads. I didn't have white half beads of big size. So for the photo I place blue half beads for the buttonhole stitch flowers and small white half beads for the lazy daisy flower. If I find white big half beads I will replace the blue beads with it. What is your opinion?
I have one more saree in my WIP basket with kasuti embroidery. 1 metre of border is pending. I am slowly doing that saree now and then and it is nearing the finish. Will show it soon.
Tomorrow I will come up with a book review. So stay tuned. Till then, have a happy time.
Hope all are staying safe and doing good. I am here to share with you an easy pattern for practicing the berry stitch. You can view another design using the same stitch here.
Today I am happy to share with you another easy embroidery design for beginners. In my last post I have posted the step by step tutorial for doing the long tailed daisy stitch. Today's design is to practice that stitch. This design can be used as all over motifs for sarees, cushions, kurtis etc.