Hi all
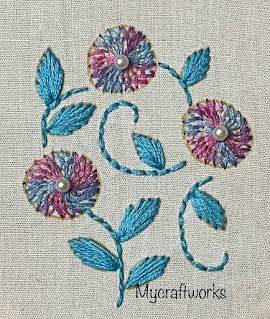
Hope all are doing well and good. In my embroidery stitch tutorial series today I am happy to show you the steps to do chemanthi stitch flower.
We will be working this flower in a round shape. I am using three strands of variegated thread for doing the flower.
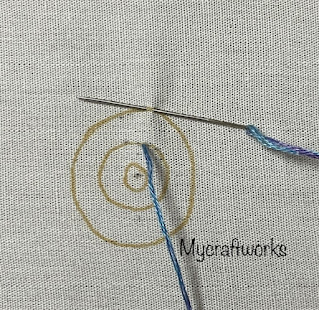
Start with a circle and draw circle inside as shown. We will be working the points based on the three circle for every stitch.
Come out at a point in the 2nd circle.
Now take a small stitch from right to left on the outer circle. Pull through the thread.
The first stitch is formed
Now insert the needle in the centre circle and come out at a point next to the point in second circle. The thread should be under the needle.
Pull through the thread.
One complete chemanthi stitch is formed.
Repeat the above steps by taking a small stitch to the right of the first stitch in the outer cirlce.
Pull through the thread.
Insert the needle in the same point in centre of the inner circle or the point next to the previous in the inner circle and come out at the middle cirlce.
Continue doing the same in the clockwise direction.
After completing 3/4th of the circle.
For the very last stitch take the stitch starting from the very first stitch and the last stitch done.
The last anchoring stitch should be done in the middle circle next to the working thread.
A Chemanthi stitch flower is formed.
Pattern for the above design
------------------------------------------
Used chemathi stich for flowers, Back stitch for stems and simple straight stitches for the leaves. I will upload the video tutorial in my next post. Till then, have a nice day.


These are clear and easy to follow instructions of a most beautiful stitch. It really is nice worked in variegated thread.
ReplyDeleteWow this stitch is amazing! Thanks for teaching it.
ReplyDelete