Wednesday, July 27, 2022

Embroidery Design - Double Cast On stitch

 Hi all

Hope all are doing well and good.  Today I am happy to share with you an embroidery design that can be used to practice double cast on stitch.  This is suitable for beginners and this design can be used in your dresses as well.  


Here I have used 6 strands of embroidery threads.  For each petal I used 6 wraps.  Leaves are done using granitos stitch with 4 stitches.  Stem is done using outline stitch.

Pattern for the design
--------------------------------
Hope all of you like this design.  Do give a try and drop in your feedbacks in the comments section.  Have a nice day.  

Friday, July 22, 2022

Mirror Work 8 - Using straight stitches | How to embroider a circle using straight stitches

 Hi all

Hope all are doing well and good.  Today I am happy to share with you a simple and easy mirror work.   I am using simple straight stitches to frame the sequin here.  By using the straight stitches we can form a round very easily.  This method is very very useful for absolute beginners who wishes to embellish their dresses with mirrors or sequins.  

Let's move on to the tutorial.  For doing this work I have placed 24 equally spaced dots around 1" circle using the polar graph paper downloaded from here.  I have marked the dots in the second circle as you see below.


Trace these dots in the fabric and just make straight stitches as shown in the picture below. 

 You have  to make straight stitches between one dot and the 10th dot from that dot.  
i.e)  connect dots 1,10 using a straight stitch.  Then (2,11) (3,12) (4,13) (5,15) and so on.  

We have to bring the thread up at the 1 and go in at 10.  Like this we have to come up for all the 24 points and go in at the 10th point from where we come up.    So from each dots we will be having two straight stitches. 


Here I am using 6 strands of anchor embroidery threads.  So I have got a small space in the centre.  For the picture in the beginning I have used 4 strands of thread and got a little bigger space that fits a 3/4" sequin.  

If you are using 4 strands of thread paste the sequin or mirror first and then proceed with the straight stitches.  


For this space I have found a small mirror in my stash. You can purchase that size mirrors here.


You can use this mirror work to embellish your dresses like kurtis and sarees.  Hope all of you like this tutorial.  I will be back with my WIP update in my next post.  Till then have a happy time with needle and thread.  Have a nice day.  

Monday, July 18, 2022

Raised Cross Stitch flower stitch - Embroidery Stitch tutorial

 Hi all

Hope all are doing well and good.  Today I am happy to share with you a simple and easy stitch to make a mini rose like flower.  It is raised cross stitch flower stitch.  It is an excellent stitch for beginners to embroider a mini rose.  

Video Tutorial Here 

Let's move on to the tutorial.  I am using six strands of embroidery floss here.  

Start with an upright cross.  

Bring the needle near the centre of the cross in the right hand side.

Pass the needle under the spoke in the right side without picking up the fabric.  The working thread should be under the needle.

Turn the work 90 degrees in clockwise direction and again pass the needle under the right side spoke without picking up the fabric.  

Repeat the above step in clockwise direction until the spokes are covered.   

Anchor the thread under the next whipped stitch.  A cute little flower is formed.

Add a bead or button to the centre of the flower/rose.  

You can add some straight stitches for the leaves and a little spray motif for your dresses is ready.

Tuesday, July 12, 2022

Simple embroidery neck design

 Hi all

Hope all are doing well and good. Today I am happy to share with you a simple embroidery neck design. 


Pattern for the design 

—————————-

I will update this post with the other details soon.  


Friday, July 8, 2022

Pachis Work Embroidered Yoke / Ready for sale embroidered kurti fabric

 Hi all

Hope all are doing well and good.  Today I am happy to share with you an embroidered finish.  I have started doing pachis work in a plain raw silk material two weeks back and it's completed today.  So happy with the finish.  

I have embroidered only in the yoke portion and the sleeve border.  

Yoke

sleeve border

Lazy daisy flowers are done in between the pachis work.  The tutorial for pachis work is available in my youtube channel.  Kindly have a look at my channel and if you are interested kindly subscribe.

Pattern for the design
----------------------------
I have provided the pattern for the sleeve border only.  This pattern is expanded to form the yoke.  So you can print this pattern in an A4 paper and place a tracing paper on top of that and draw the pattern according to your wish.


Hope all of you like this design.  This embroidered piece is ready for sale.  If you are interested in getting this piece kindly contact me at shamiimmanuel@gmail.com or embroiderytutorialsanddesigns@gmail.com.  

See you soon with another post.  Till then happy embroidering and have a nice day. 

Wednesday, July 6, 2022

Open Chain Stitch - Embroidery Stitch Tutorial

 Hi all 

Hope all are doing well and good.  Today I am going to share the tutorial for doing the Open chain stitch.  This stitch belongs to chain stitch family

 Let's move on to the tutorial.

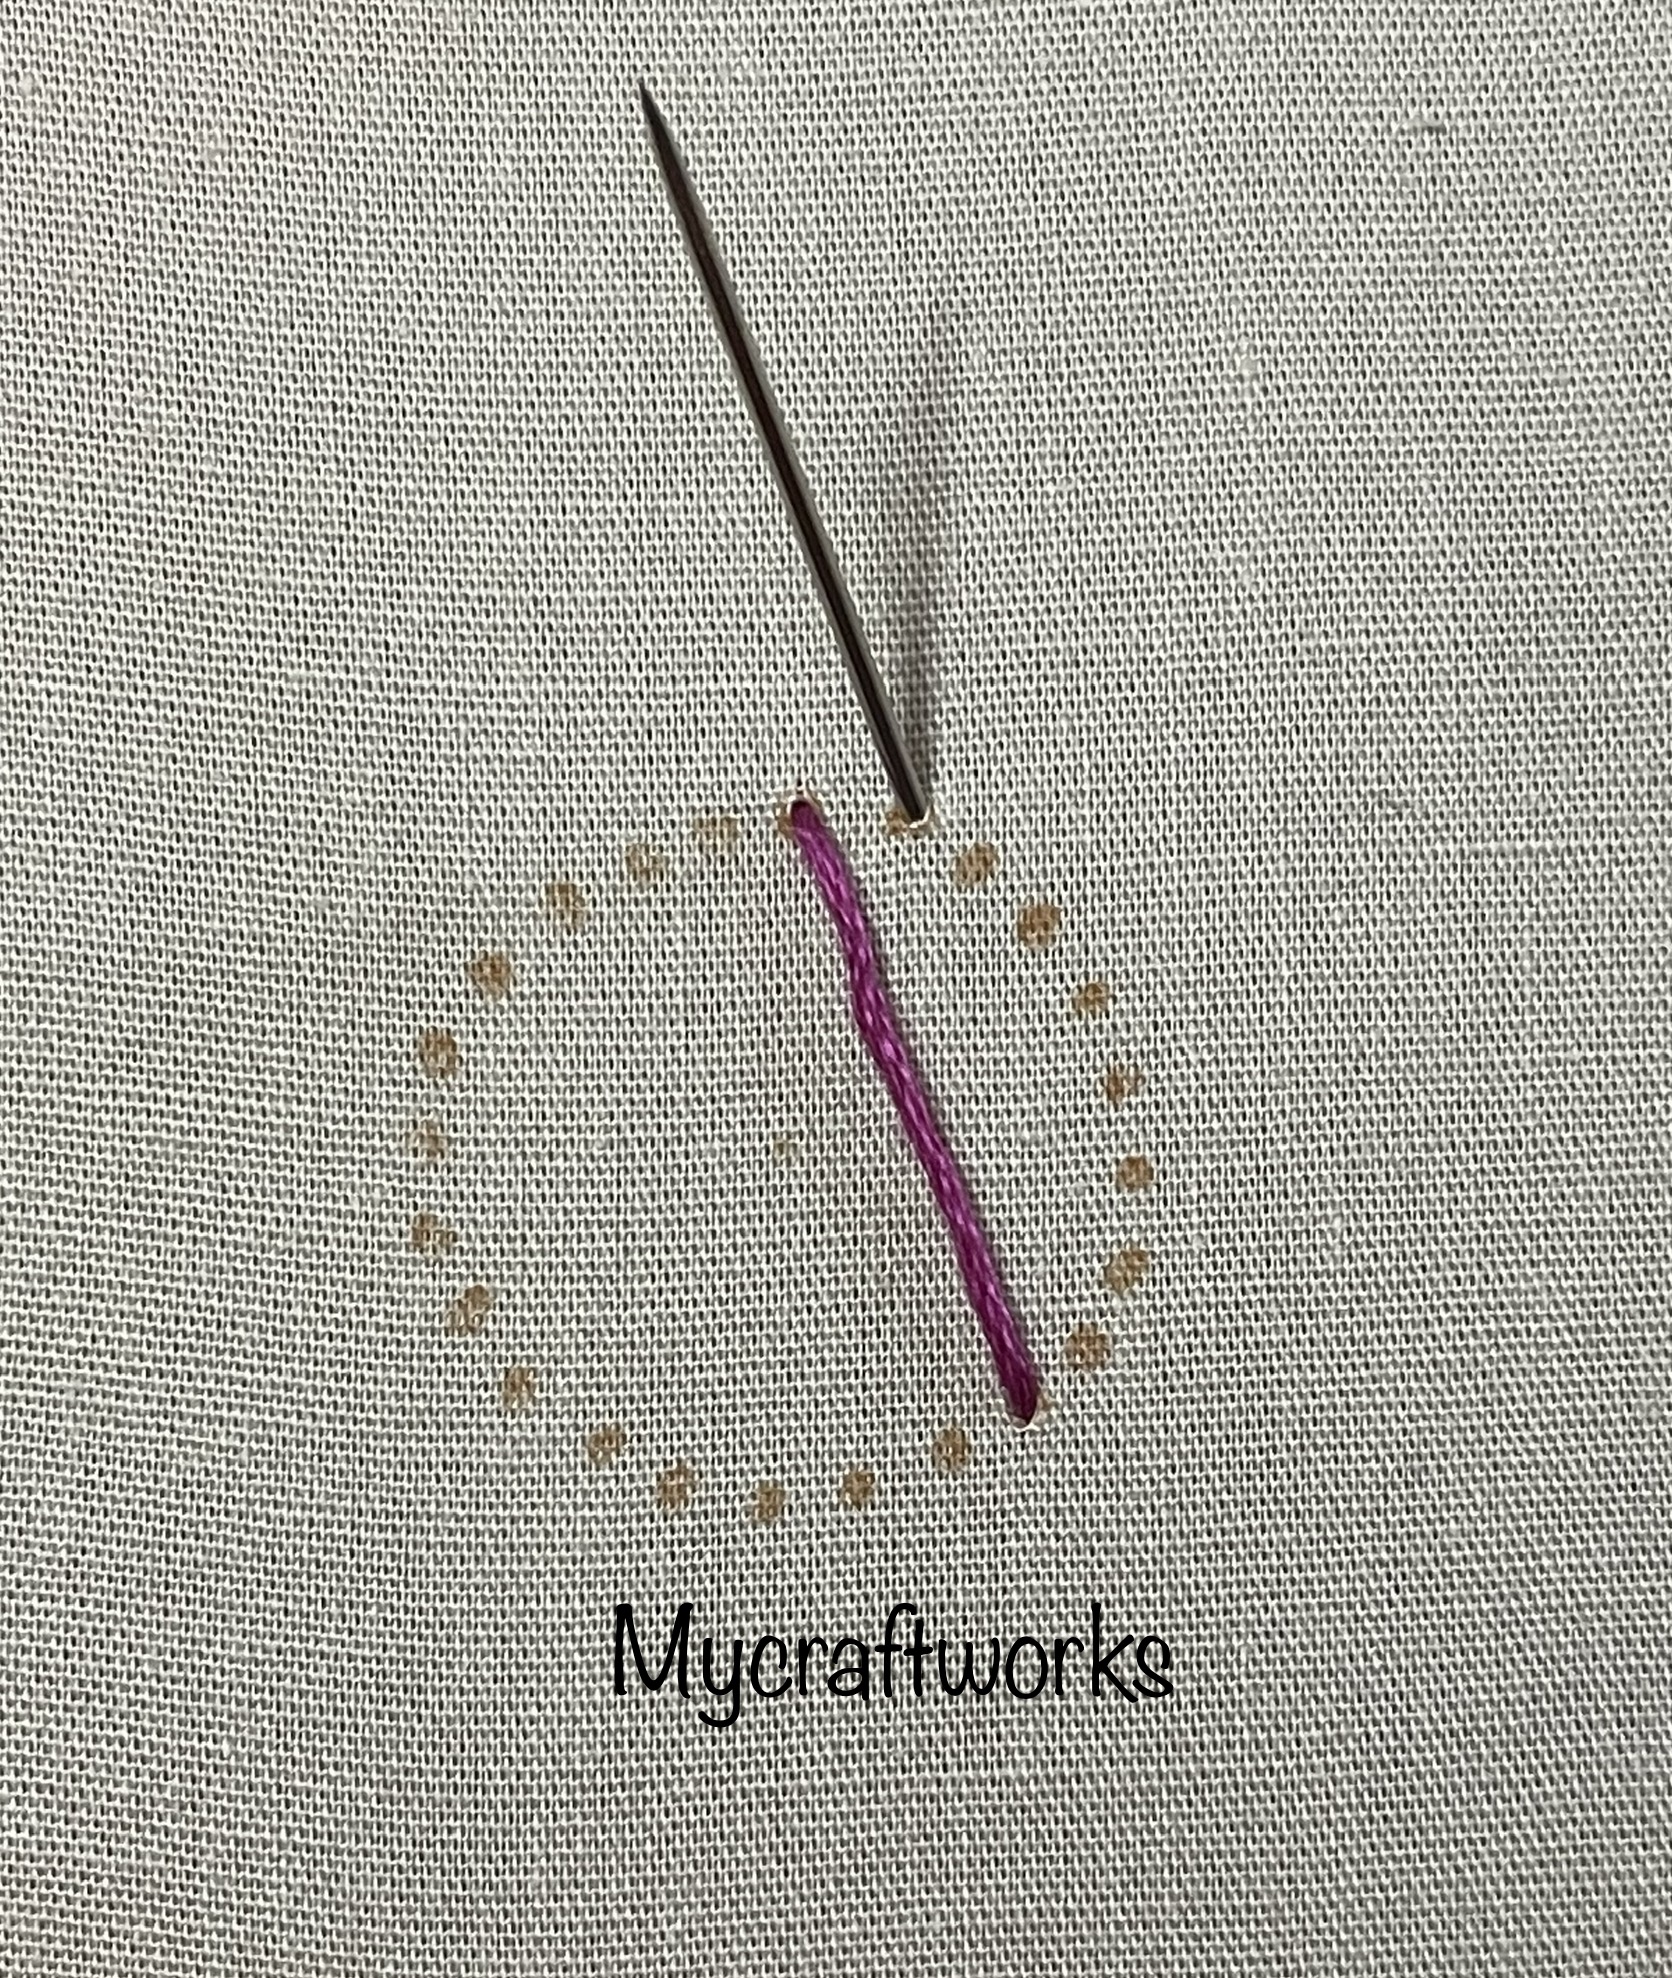
This stitch is done between two parallel lines. It is worked from right to left. I am doing it in 14 ct aida cloth here.  I am working it between 4 holes.  

Bring the needle up at one point at the lower stitch line.  Insert the needle in the upper stitch line and bring it up on the lower line at an angle.  The working thread should be below the needle.   


Pull through the thread.  Don't tighten the thread.  
when there is a some amount of thread remain insert the needle in the top line aligning the thread that comes up previously.  

Now tighten the thread by pulling the working thread.

Angle the thread again at the base line with the working thread below the needle.  

Pull thread thread and before tightening the thread insert the needle at the upper line and then tighten the thread as we do before. 

Continue the same steps along the stitch lines.  When you reach the last stitch leave some thread.

Insert the needle in the upper line and tighten the thread.  

To finish off, Remove the needle and insert it outside the lower stitch line 

Pull through the thread and bring the needle again in the upper line inside the last chain.  Hold the last chain with the left hand so that it does not get tighten.  Pull through the thread.

Insert the needle outside the last chain in the upper stitch line and anchor it.

A line of open chain stitch is formed.  

Hope you find this tutorial helpful.    In my next post I will show an embroidery design.  Till then, happy embroidering and have a nice day. 

Tuesday, July 5, 2022

Classic Leaves stitch - Needlepoint stitch 2, Colour sample 2

 Hi all

Hope all are doing well and good.  Today I am happy to share with you another needlepoint stitch called "classic Leaves".  

I have done this in 14 ct Aida fabric.  I have selected three shades of green - 211, 267, 264 of anchor embroidery thread.  All the 6 strands of thread have been used.  Let me show the emnroidered piece now.


Here is a close up of the pattern

Hope all of you like this pattern.  I have made a video tutorial for working this pattern in my youtube channel.

If you like my video kindly subscribe and support.  I will be back with another design soon.  Till then, have a nice day.

Monday, July 4, 2022

Kasuti Embroidery Star motif

 Hi all 

Hope all are doing well and good.  Today I am happy to share with you an easy kasuti embroidery design. It is a big motif that can be used in sarees and Kurtis.  

Here I have drawn the pattern in a 10 lines per inch graph paper and traced it using carbon paper.   Also I have used 3 strands of anchor embroidery thread.


Pattern for the design 

Hope all of you like the design.  I wii meet you with another post.  Till then, happy embroidering and have a day. 

Friday, July 1, 2022

Square Boss Stitch - Embroidery Stitch Tutorial

Hi all,

Hope all are doing good.  Today I am happy to share with you a stitch tutorial for Square Boss stitch. The other name for this stitch is Raised knot sitch.    


It is a very simple stitch.  It can be used as light fillings for dresses.  Also it can be stitched in rows as border.  It is an isolated stitch.  This stitch is done with a cross stitch and that cross stitch is covered by back stitch square.  

Let's move on to the tutorial.   For this stitch it is better to use thick thread.  I have used 6 strands of anchor thread.

First start with a cross stitch.  

For the back stitch part, you can use the same colour or you can go for a contrast colour.  Here I am using the same colour.

Make a straight stitch from 1 to 2.

Second stitch should be made from 3 to 1.

Third stitch from 4 to 3.

Fourth and the final stitch should be from 2 to 4.
A square Boss stitch is formed.

In the following picture the square part is done with contrasting colour.  

Hope this tutorial will be useful. See you soon.  Till then, have a nice day. 

*/