Wednesday, April 27, 2022

Kashmiri Ball Stitch Tutorial/How to do Kashmiri Ball stitch

Hi all

Hope all are doing well and good.  I have some stitch tutorials and designs ready in my hand.   I am not able to post it here as I am concentrating a bit more on my youtube channel.  So before it piles up let me post it here one by one.  

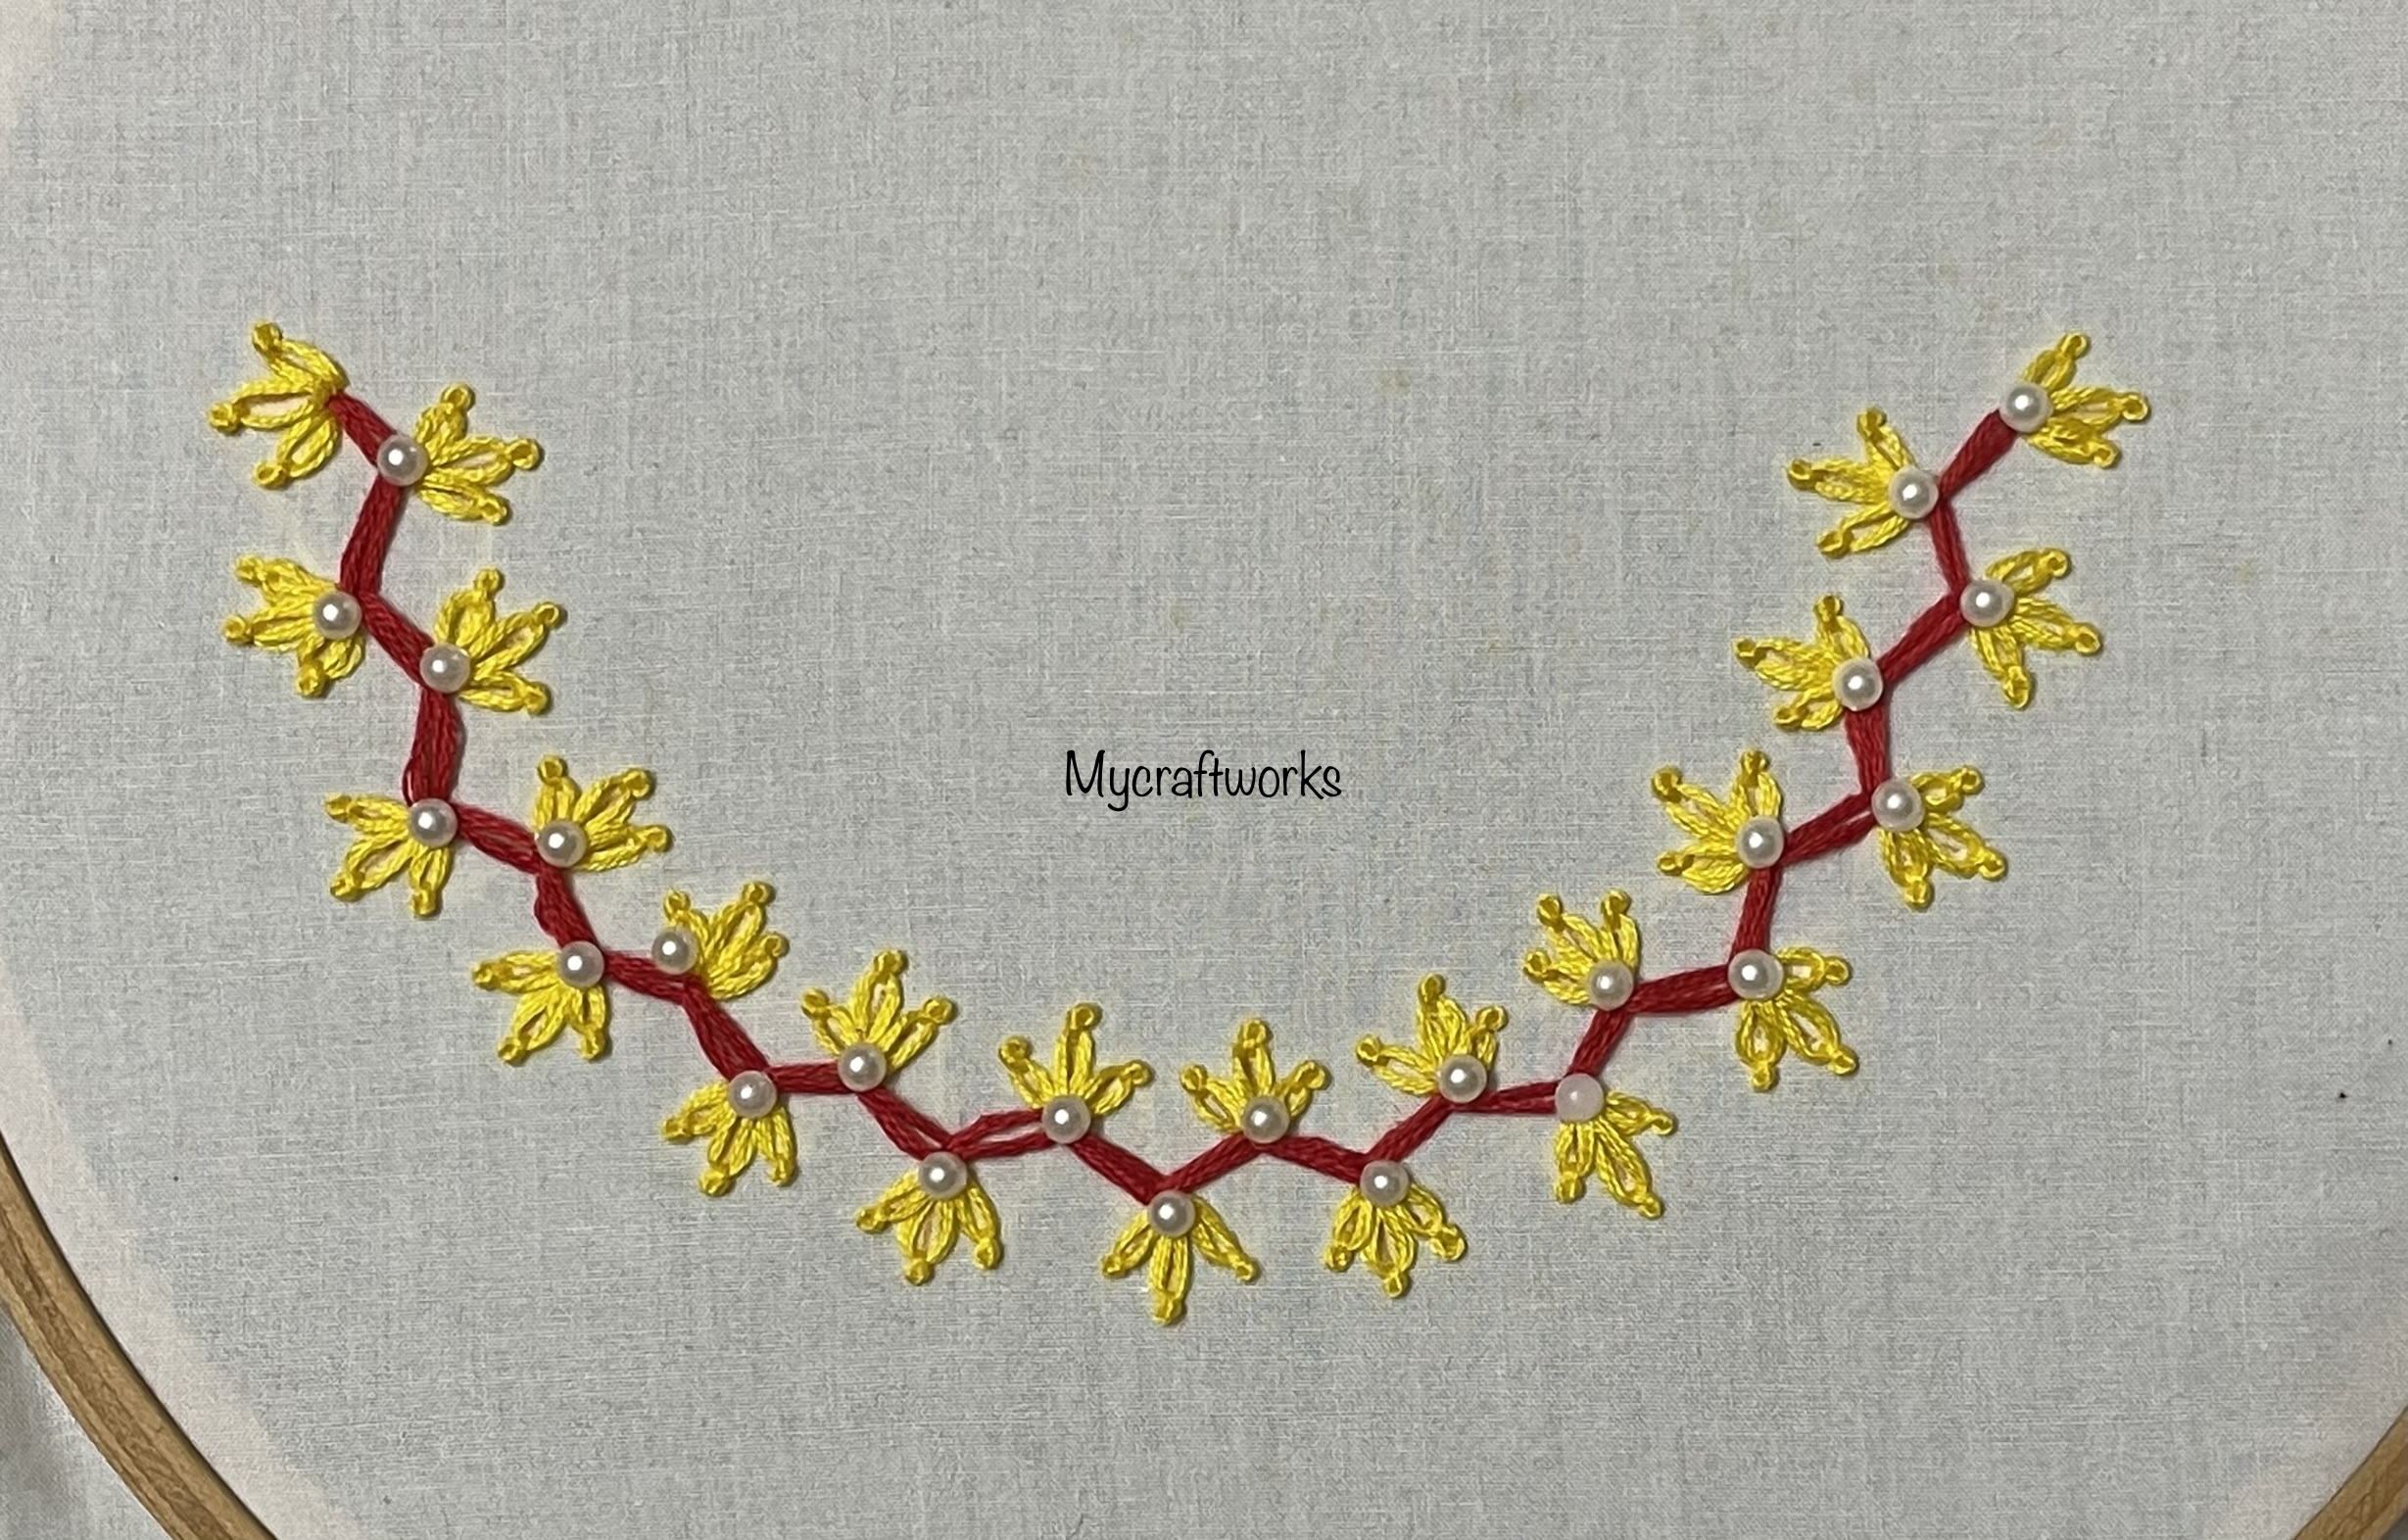
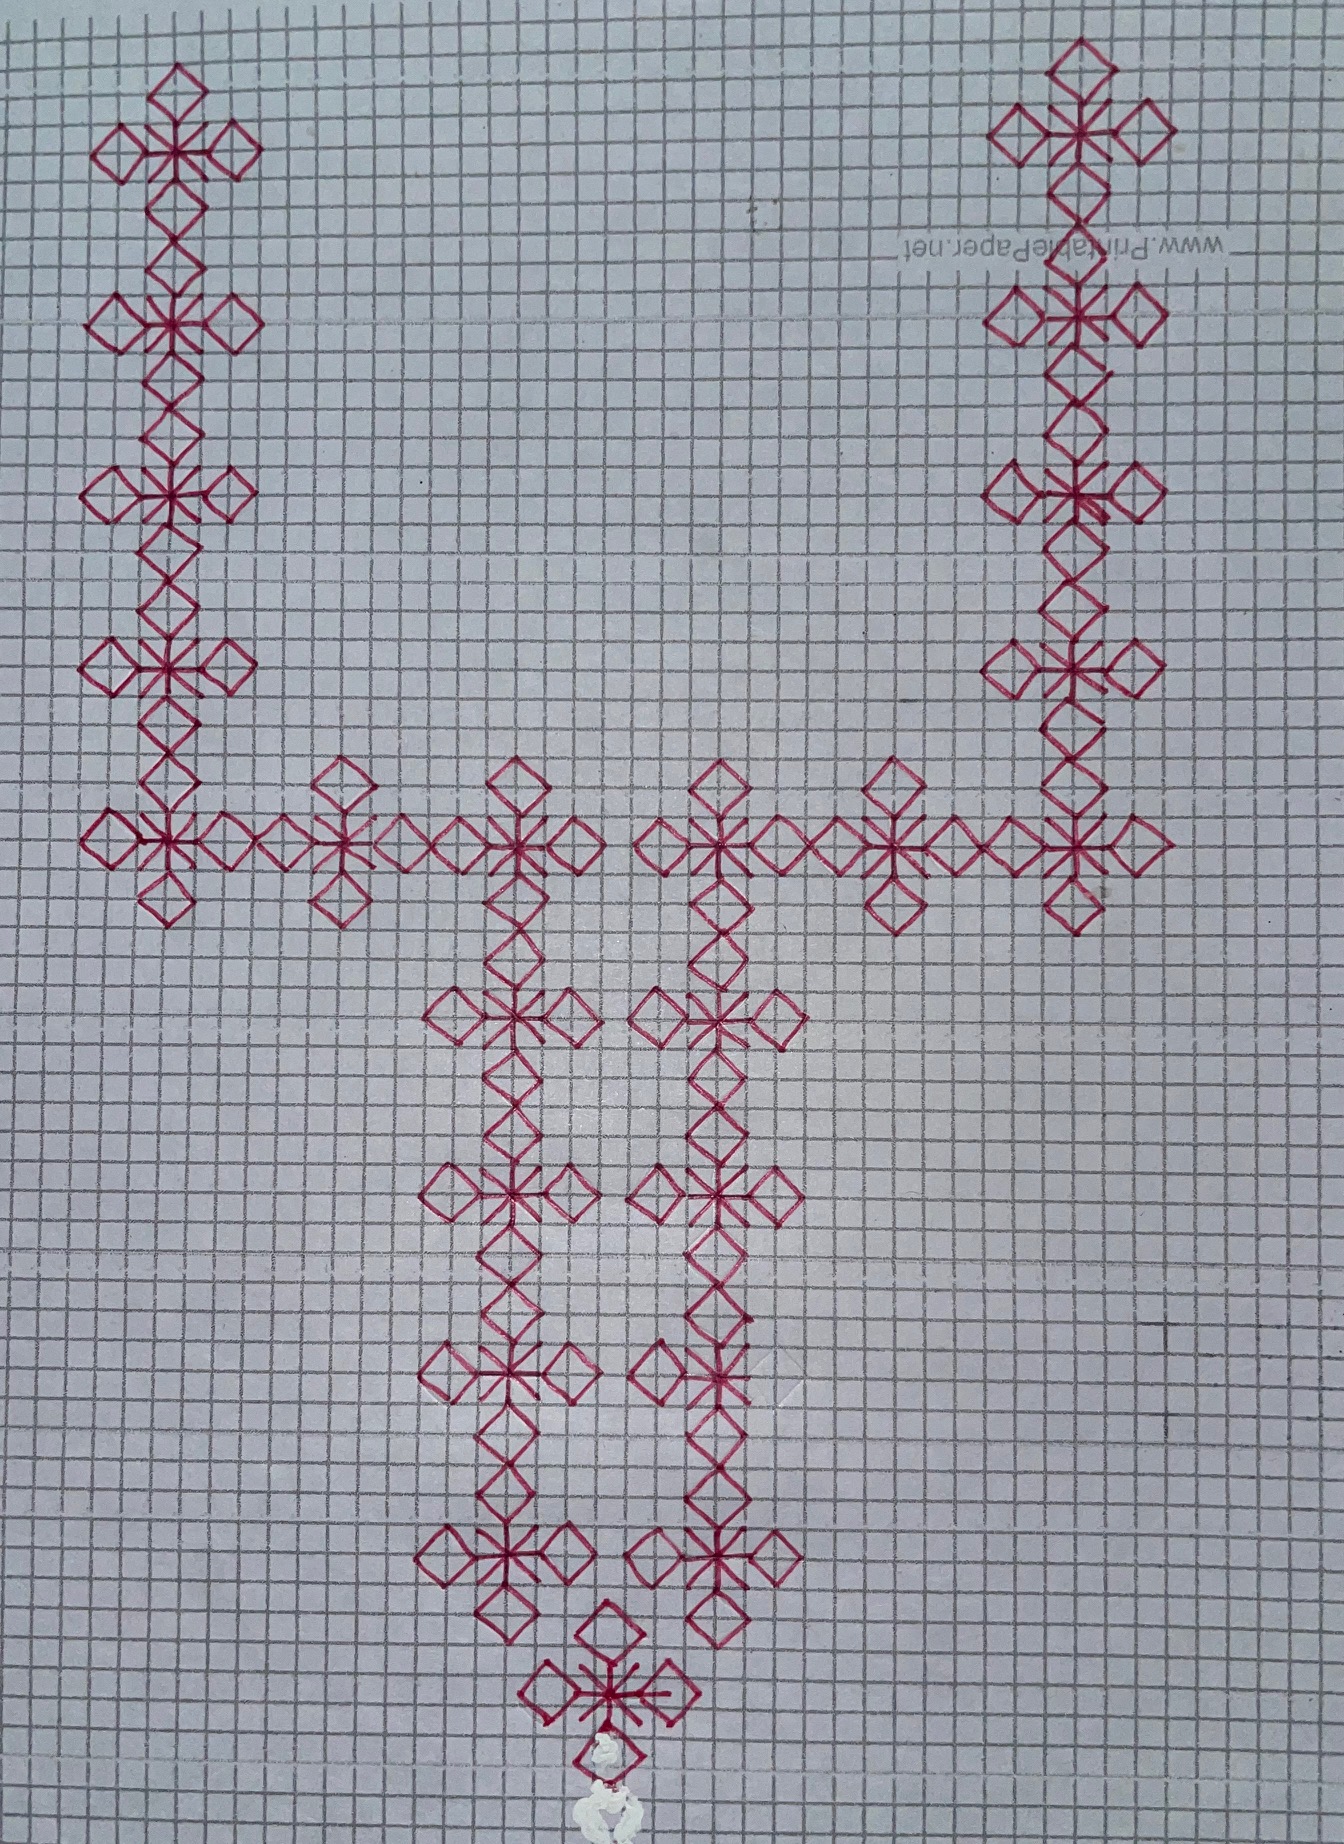
Today I am happy to share with you kashmiri ball stitch.  It is very simple and easy stitch.  This stith can be used as an all over design for your dresses.  

Let me show the steps involved in doing a kashmiri ball stitch.  This is a picture heavy post.  I am going to work 4 kashmiri ball stitches in the following design.  This stitch is worked using the spokes as the base.  The number of spokes depends upon the design we are going to embroidery. 


Here I have used 1 horizontal and 1 vertical spokes in the shape of '+'.  Then two slanting spokes in the shape of  'X'.  Slanting slopes are little bit smaller than the horizontal and vertical spokes.  


Start with the straight stitches in the following order shown in the pictures below.


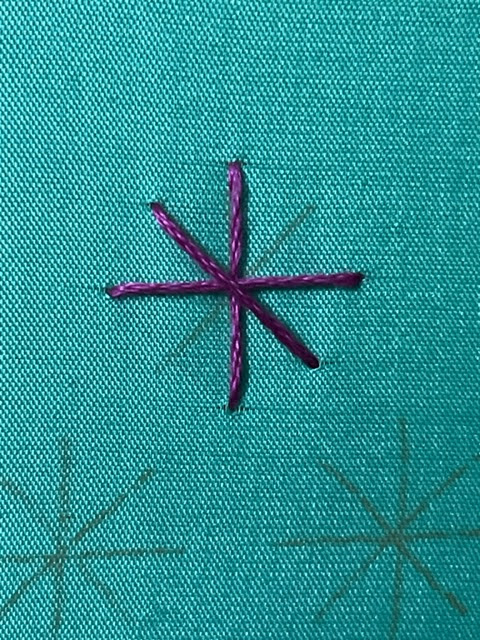
The base stitches are completed.

Since the stitches are straight and in order to keep them in place I have make two rounds of woven stitch around them.  That is going over one stitch and then under the next stitch.

Bring the needle up in the centre and do the woven steps as shown.

Bring the needle under the horizonal and vertical lines and over the slanting lines.  do this for two times.


After completing two rounds anchor the thread by going down at the point where it comes up. 


Now we are going to make the balls.   In any one straight stitch make a small straight stitch the one below. It should keep the straight line in place and the small stitch divides the straight line into upper and lower part.  

Bring the needle up through the fabric near the small stitch.  

Now pass the needle under the upper part and then under the lower part also.


Do it two more time.


After three rounds anchor the thread by going in through the point where it comes up.  If the space between the spokes are more you can do more rounds to make big ball.  

Repeat the same steps for the other spokes also. For the horizontal and vertical spoke I have made three round and for the slanting spokes I have made two rounds to make some difference. 


This is one completed kashmiri ball stitch.  


A close up.


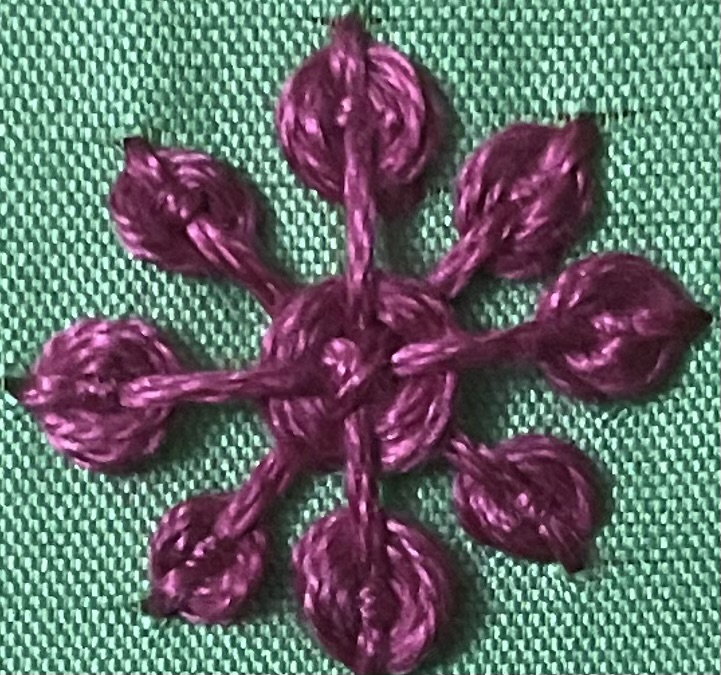
The following picture shows a kashmiri ball stitch with more number of spokes. 

Hope you find this tutorial helpful.  Do drop in your feedbacks in the comments section.  I will be back with another interesting stitch tutorial soon.  Till then, have a nice day. 

Monday, April 18, 2022

Simple Embroidery Neck Design

 Hi all

Hope all are doing well and good.  Today I am happy to share with you a simple embroidery neckline that uses two simple stitches.  This design is suitable for beginners. It can be used for Kurtis as well as saree blouses.  Have a look at it.


The red colour zig zag portion is done using zig zag chain stitch.  The flowers are done using lazy daisy.  I have tipped the lazy daisy stitch with French knot.  Then added half Pearl beads to the base of the flowers.

Pattern for the design 
——————————
You can print the design using A4 paper as such.  I will be updating this post with the sleeve pattern tomorrow.  

If you try your hands in embroidering this design, kindly drop in your feedback in the comments section and consider subscribing my YouTube channel. 

Saturday, April 16, 2022

Lazy Daisy Stitch Embroidery design - Video Tutorial

 Hi all 

Hope all are doing well.  Sometime back I have embroidered a lazy daisy design for a dress.  Today I am happy to share with you the video tutorial for the same.  Added granitos stitch for the buds instead of lazy daisy stitch.  Do watch it and give your feedbacks. 


You can view all my video tutorials in my youtube channel.  If you are interested in watching embroidery related videos kindly subscribe and support.  

Have a nice day. 

Bargello stitch - Needlepoint stitch 1, Colour sample 1

Hi all

Hope all are doing good.   Today I am happy to share with you a small embroidery piece that I wish to do some time back.  Needlepoint embroidery pieces always fascinates me.  I have done some embroidery purses using needlepoint techniques.  I have done it in tapestry canvas.  

This sample I have done it in 14 ct aida fabric.  I have developed this piece as a colour sampler too.  Whenever I start an embridery  I always get confused choosing the colours. So thought of preparing a colour sample along with a needlepoint stitch.  This is the first stitch which is known as bargello stitch.  There are so many patterns using this bargello stitch technique and this is the simplest one.  


Anchor threads used
-----------------------------------
65 - Dark Pink
61 - Medium pink
300 - Cream

This is the pattern which I have used.   


This pattern can be used for purses, cushion covers etc.  I have used 6 strands for 14 ct aida.  If you are using tapestry canvas 4 strands is enough.  I will cover the canvas.  

Hope all of you like the pattern.  I have made a video tutorial for this stitch.  It is in my youtube channel.  You can click the following link to watch the video.  


If you like my video kindly subscribe and support.  I will be back with another design soon.  Till then, have a nice day and for those who celebrate Easter. Happy Easter.  

Wednesday, April 13, 2022

Simple running stitch border design 4

Hi all

Hope all are doing well and good.  Today I am happy to share with you a simple border design that uses the stepped running stitch as the base and a weaving around the base stitches to form a flower border each flower with three petals.                                

This is a picture heavy post.  I hope the pictures explains more clearly than the explanation.

Video Tutorial  

start with 4 rows of stepped running stitch


From here pass the thread under the base stitches without picking the fabric. 


Hope all of you like this design.  Will be back with another design soon.  Till then, have a nice day and happy embroidering.  

Saturday, April 2, 2022

Simple Kasuti embroidery Neckdesign

 Hi all

Hope all are doing well and good.  Though I love to do all sorts of embroideries, kasuti and kutch embroidery is my favourite.  I try to do kasuti embroidery that looks similar on the front and back side of embroidery.  Recently using a border design I have created a neck design.  This is a very simple design.  that has one single motif repeatedly.  

Click this link for video tutorial.  If you like my videos consider subscribing my channel.  

I have done a sample neck design.  The measurements are not proper.  It's just a model.  Have a look at it.


I have added golden stones along the edge of each motif.  

This is before adding the stones.

The beauty of kasuti is that we can create same pattern on front side and back side of fabric.  You can see it from the photograph below.

Front

Back

Pattern for the design.
-----------------------------

Here is the pathway of working a single motif

Take straight stitches in the following order
1-2,  3-17,  9-10
11-12,  9-12,  11-10
9-17,  21-17,  18-17
8-5,  6-7,  8-7
6-5,  8-17,  19-17
20-17,  14-15,  16-13
14-13,  16-15,  14-17
3-4,  1-4,  3-2

Do give a try.  Soon I will be posting the proper design for the neck of a standard kurti.  Till then have a nice day.  
*/