Showing posts with label Chain stitch family. Show all posts

Friday, June 17, 2022

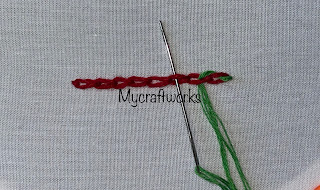
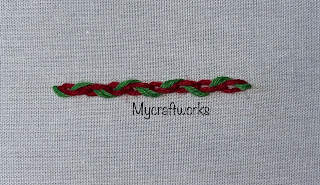
Laced Chain Stitch - video Tutorial, How to do laced chain stitch

 Hi all

Hope all are doing good.  Today I am happy to share with you the video tutorial for doing the laced chain stitch.


Hope all of you find this tutorial useful.  I will be back with a new embroidery design.  Till then happy embroidering.  Do subscribe my channel if you like my videos. 

Have a nice day.  

Tuesday, May 17, 2022

Checkered Chain Band - Embroidery Stitch Tutorial

 Hi all

Hope all are doing well and good.  Today I am happy to share with you the embroidery stitch tutorial for checkered chain band.  It looks a bit complicated with two set of threads.  This tutorial will give you clear and crisp instructions for doing the checkered chain band stitch.  It looks like magic chain stitch over straight lines.  

Let's move on to the tutorial.  In this tutorial I have used three different colour threads.  For the base blue colour is used.  2 more contrasting colour threads are threaded in two needles with the threads doubled.  I use 6 strands of thread.  

1)This stitch is done between two vertical lines that are spaced 1/4".  Now make horizontal stitches as shown with equal spacing.


2)  2 contrast colour threads threaded in the needle.  Threads should be doubled.

3)Bring the first thread up below the first straight stitch.  It should come up in the middle of the straight stitch.

4)Pass the first thread under the second straight stitch without picking up the fabric. Pull through the thread.

5)  Split the thread as shown above.

6)Bring the second colour thread up  in between the splited thread and below the second straight stitch and pull through.

7)  Now Split the second colour (Green) thread.

8)Bring the first colour thread(Pink) to the front(This is coming from inside the second colour).

9)  Pass the second colour thread under the next(third) straight stitch and pull through.

10)  Now split the first colour and bring the second colour to the front.

11)  Pass the first colour(Pink) under the next straight stitch and pull through.

12)  Split the second colour and bring the first colour to the front and pass the second colour under the next straight stitch.

Repeat the above step with the first and second colour alternatively till the end of the stitch line.

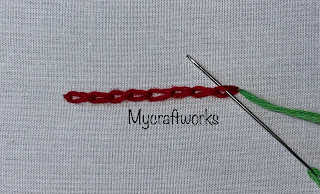
Bring the last colour that passes under the straight stitch to the front by splitting the other colour and anchor the thread that is splitted. In my case it is pink colour. 

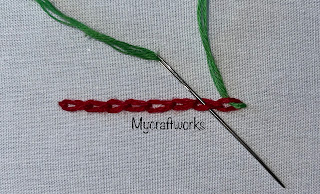
Now anchor the other colour outside the pink loop.

A line of checkered Chain Band stitch is formed.  


Hope all of you find this tutorial useful.  I will be back soon with the finish of the embroidery floral heart in my next post.  Till then, happy embroidering and have a nice day. 

Tuesday, May 3, 2022

Zig Zag Chain Stitch - Hand embroidery stitch tutorial

 Hi all

Hope all are doing well and good.  Today I am happy to share with you the tutorial for zig zag chain stitch.  This is similar to chain stitch but worked in a zig zag manner.  

Video tutorial here

In the following link you can see how I have applied this stitch to form a neck line. 

Simple embroidery design

Now let's move on to the tutorial for zig zag chain stitch.

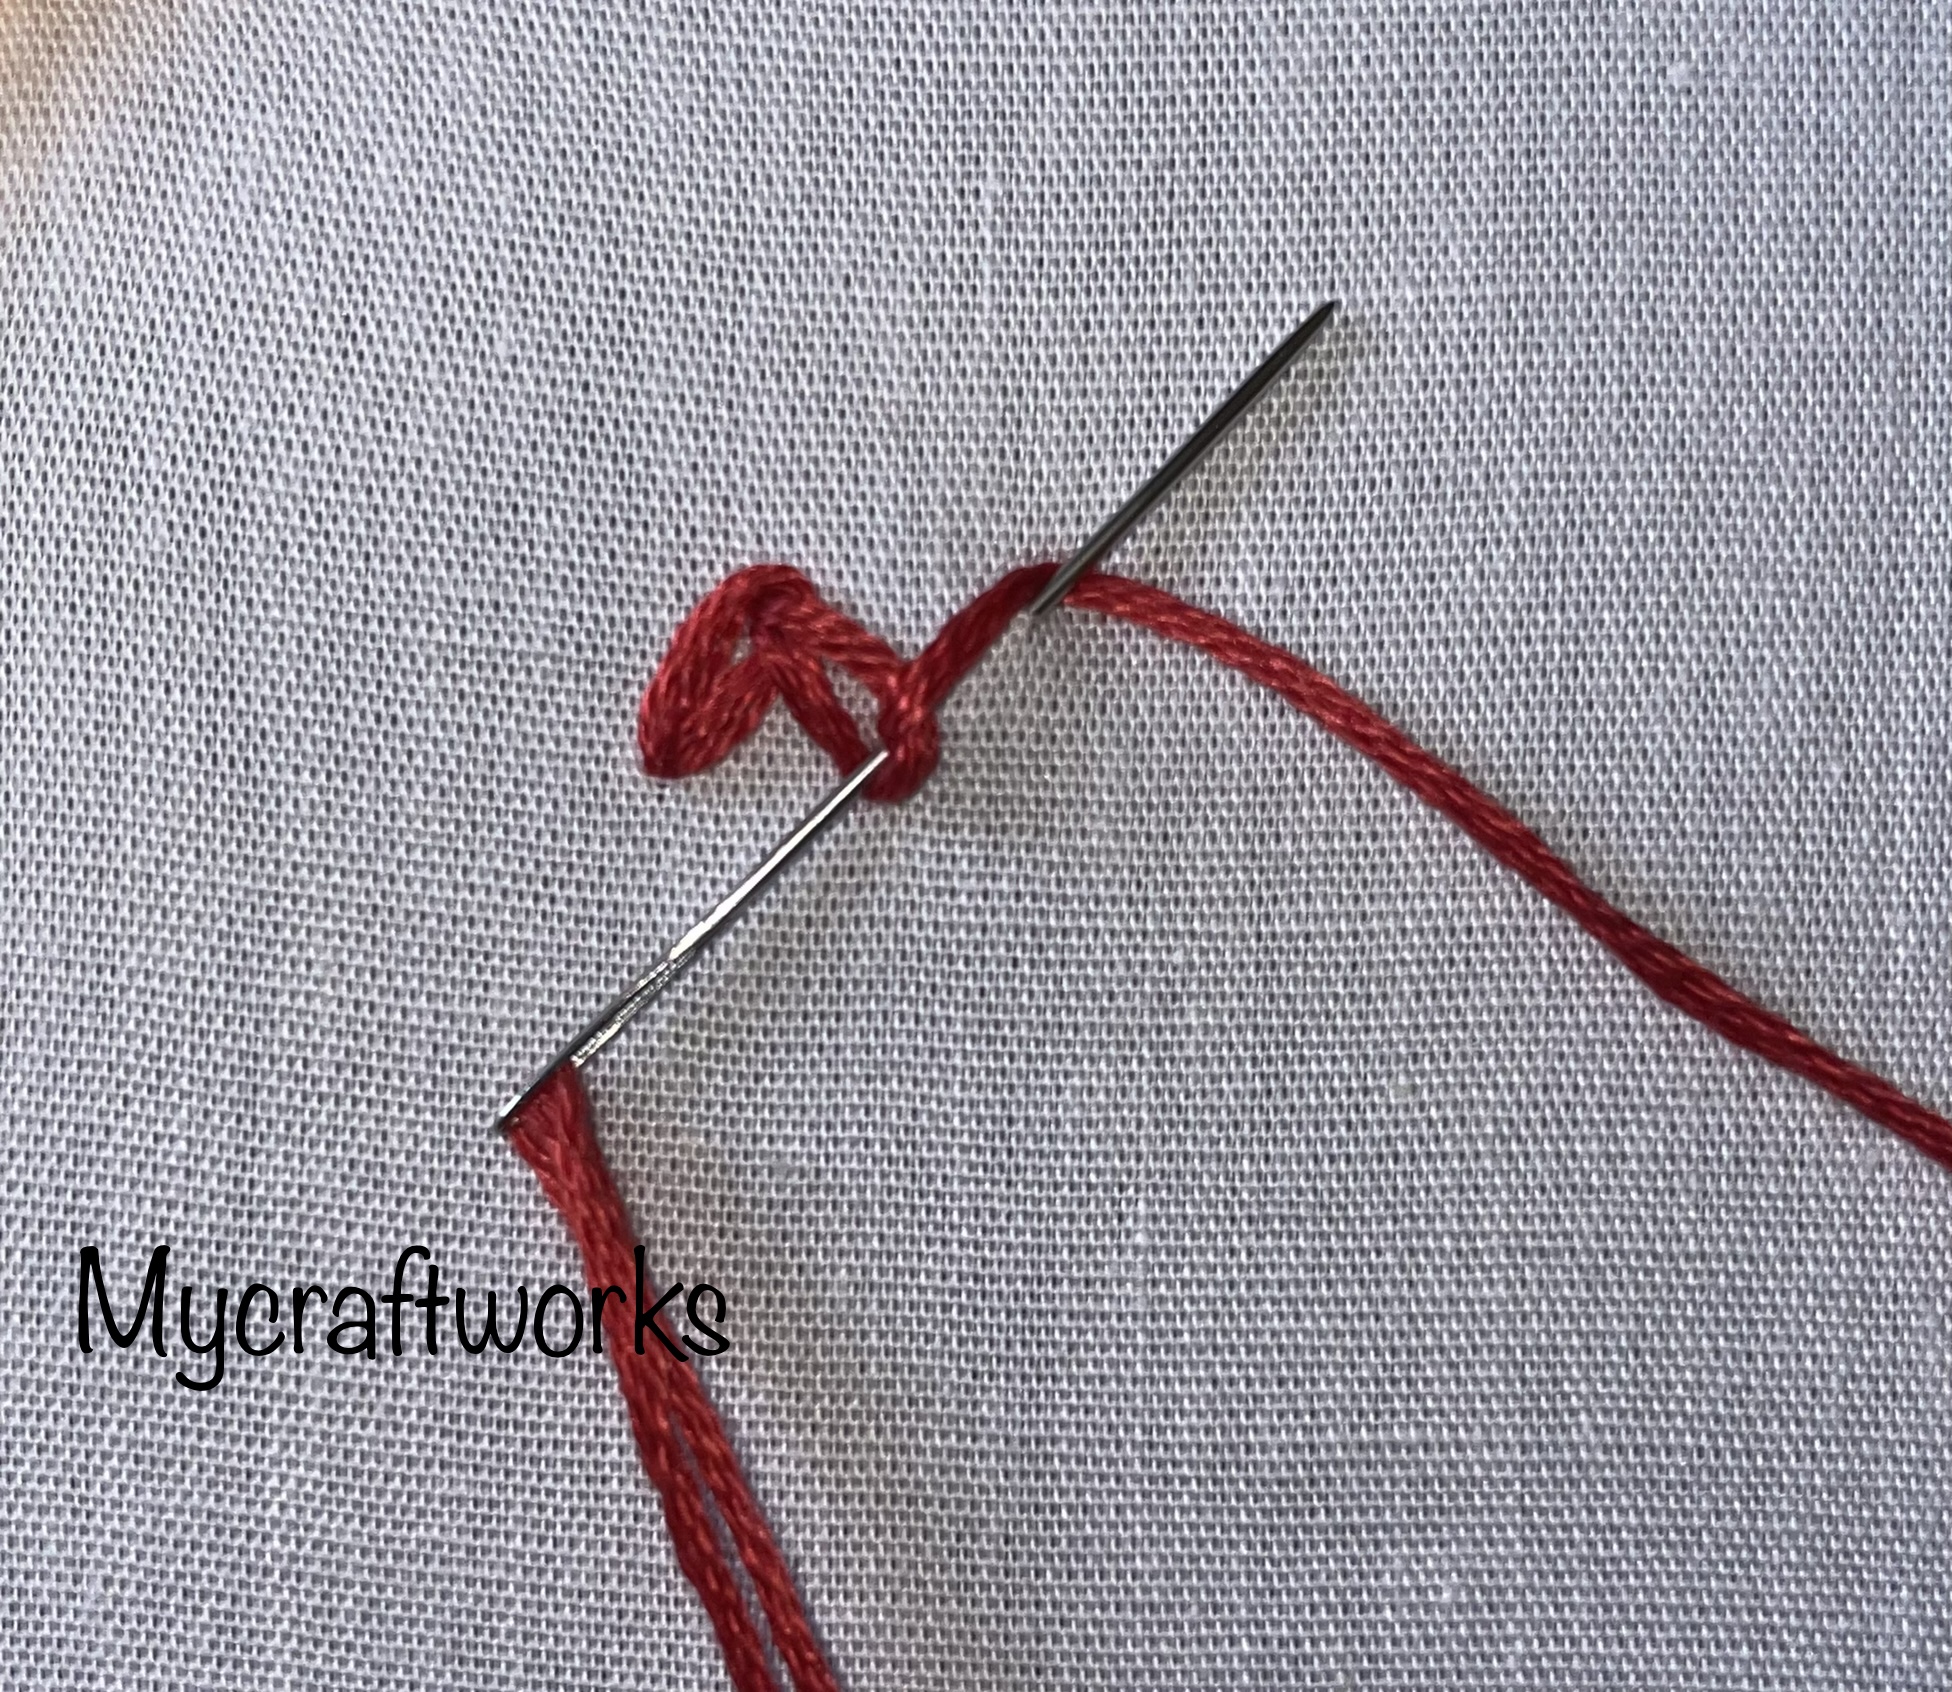
Start with a normal chain stitch but in a slanting manner from bottom to top right. 


Pull through the thread.  A slanting chain stitch is formed.

From inside the chain stitch take another stitch slantingly towards bottom as shown.

Pull through the thread.  Next chain stitch in zig zag manner is formed.

Next stitch should be slantingly from inside the second chain towards the top right.

Continue in this manner along the stitch line and anchor the thread outside the last chain.  

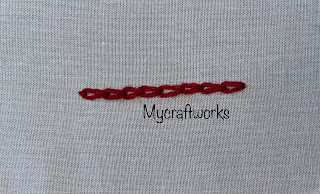
A line of zig zag chain stitch

Hope this tutorial is useful.  Will be back with another stitch tutorial soon.  Till then, have a nice day.

Tuesday, March 29, 2022

Shell Chain stitch - Video Tutorial

 Hi all

Hope all are doing well and good.  I am happy to share with you the video tutorial for shell chain stitch.  

This stitch belongs to chain stitch family.  This stitch has big chain and a small chain done alternatively.  Very simple and easy to do.  


Do give a try.  This stitch well suits for lines and curves.  I hope it is useful.  Please drop in your feedbacks in the comments section. 

Saturday, February 26, 2022

Overylayed Threaded Chain Stitch - Embroidery Stitch Tutorial

Hi all
Hope all are doing good.  In my embroidery Stitch tutorial series, today I am happy to share with you the step by step tutorial for doing overlayed threaded chain stitch.  


For this tutorial we should be know how to do chain stitch.   Here I have done the base chain stitch row using 4 strands of thread.


  • For the overlaying part I have chosen a contrast colour thread with 6 strands.  
  • Bring the thread up at one end of the chain stitch.
  • Pass the thread through the chain loop from inside the chain without the picking the fabric.  I have started to pass the needle facing upwards. 

Now pass the needle through the next chain loop with the needle facing downwards. 

Repeat the same alternating the direction of the needle in each chain loop.

A fnished row of overlayed threaded chain stitch looks like this.

Hope this tutorial is useful.  Will be back with another stitch tutorial soon.  Till then, have a nice day.

Friday, April 16, 2021

Mandala Embroidery - 2, Chain stitch family mandala

Hi all

Hope all are doing great and enjoying the weekend.  Earlier this year in January, I have embroidered a mandala out of the family of straight stitches. Today I am happy to share with you the second mandala which I have embroidered using the family of chain stitches.  I have learned the stitches from Sarah's website.  I have used twelve stitches from the chain stitch family.  

In this post I have given the stitch names in the pattern.  I will try to make the tutorial of each stitch in future.  Now onto the mandala.

I have embroidered it in ordinary poplin cotton fabric.  

Pattern for the mandala
----------------------------------

Stitches Used:
  1. Lazy daisy - 2 strands
  2. Chain stitch - 2 strands
  3. Lazy daisy - 2 strands
  4. Magic chain stitch - 1 strand of each colour
  5. Back stitched chain stitch - 2 strands
  6. Tulip stitch - 3 strands
  7. Bull's head stitch -  6 strands
  8. Long Tailed Daisy/Pistil stitch - 6 strands
  9. Knotted chain Stitch - 6 strands
  10. Oyster Stitch - 6 strands
  11. Russian Chain Stitch - 6 strands
  12. Basque stitch - 6 strands

 I hope all of you like this design.  Tomorrow I will come up with my work in progress and a new start tomorrow.  So Come back tomorrow to see the new start. 

I am linking this post to Handmade on tuesday.

*/