Showing posts with label learn embroidery stitches. Show all posts

Thursday, November 3, 2022

How to do Four Legged Knot Stitch| Hand embroidery stitch tutorial

 Hi all 

Hope all are doing well and good.  After a long time I have come up with a picture tutorial for doing four legged knot stitch.  

This  stitch can be used as a single stand alone stitch or can be worked scattered over an area as a filling stitch.

VIDEO TUTORIAL 

 Let’s see the steps one by one. 

1)  Start with a straight stitch from A - B

2) Bring the needle up at C.


3)  place the working thread over the straight stitch from C.

4) Pass the needle under the straight stitch from above the crossing thread.

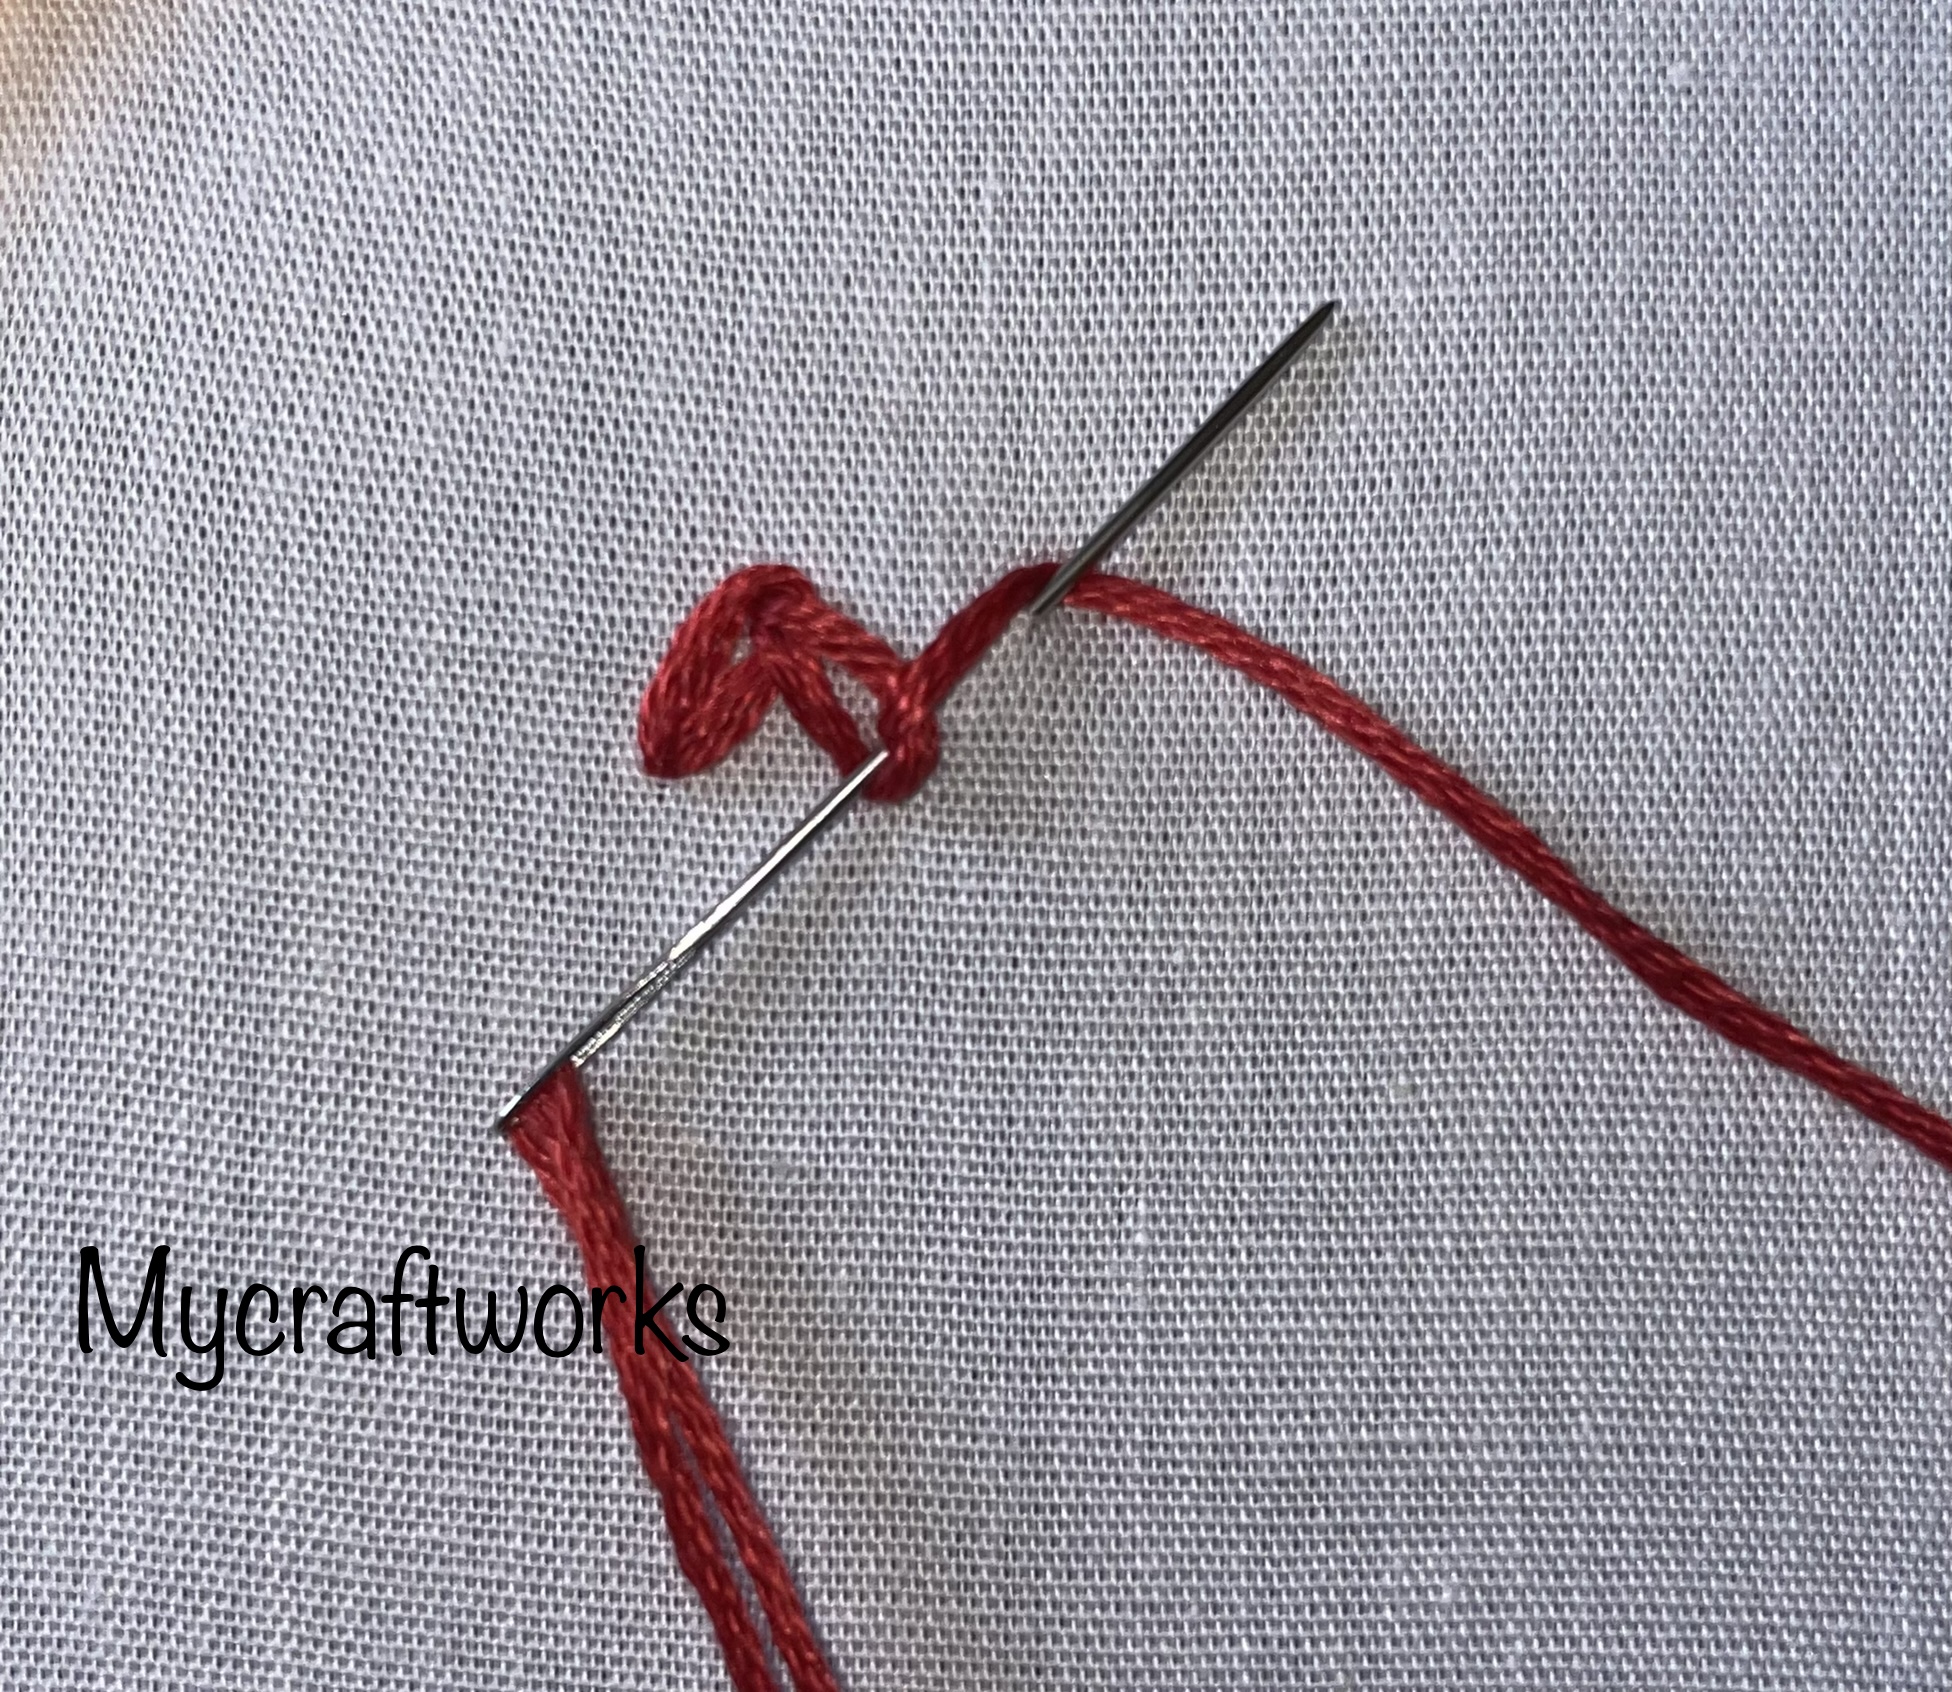
5)  Twist the thread under the needle as shown.

6)  Pull through the thread.  A knot will be formed over the straight stitch.

7)  Anchor the thread by inserting the thread at a point left of the knot and straight line to C.
A four legged knot is formed.


Monday, July 18, 2022

Raised Cross Stitch flower stitch - Embroidery Stitch tutorial

 Hi all

Hope all are doing well and good.  Today I am happy to share with you a simple and easy stitch to make a mini rose like flower.  It is raised cross stitch flower stitch.  It is an excellent stitch for beginners to embroider a mini rose.  

Video Tutorial Here 

Let's move on to the tutorial.  I am using six strands of embroidery floss here.  

Start with an upright cross.  

Bring the needle near the centre of the cross in the right hand side.

Pass the needle under the spoke in the right side without picking up the fabric.  The working thread should be under the needle.

Turn the work 90 degrees in clockwise direction and again pass the needle under the right side spoke without picking up the fabric.  

Repeat the above step in clockwise direction until the spokes are covered.   

Anchor the thread under the next whipped stitch.  A cute little flower is formed.

Add a bead or button to the centre of the flower/rose.  

You can add some straight stitches for the leaves and a little spray motif for your dresses is ready.

Tuesday, May 3, 2022

Zig Zag Chain Stitch - Hand embroidery stitch tutorial

 Hi all

Hope all are doing well and good.  Today I am happy to share with you the tutorial for zig zag chain stitch.  This is similar to chain stitch but worked in a zig zag manner.  

Video tutorial here

In the following link you can see how I have applied this stitch to form a neck line. 

Simple embroidery design

Now let's move on to the tutorial for zig zag chain stitch.

Start with a normal chain stitch but in a slanting manner from bottom to top right. 


Pull through the thread.  A slanting chain stitch is formed.

From inside the chain stitch take another stitch slantingly towards bottom as shown.

Pull through the thread.  Next chain stitch in zig zag manner is formed.

Next stitch should be slantingly from inside the second chain towards the top right.

Continue in this manner along the stitch line and anchor the thread outside the last chain.  

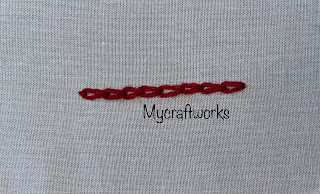
A line of zig zag chain stitch

Hope this tutorial is useful.  Will be back with another stitch tutorial soon.  Till then, have a nice day.

Thursday, March 17, 2022

Tulip Stitch - Embroidery Stitch Tutorial

 Hi all.

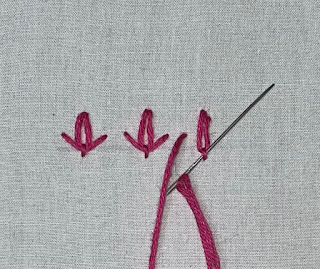
Hope all are doing well and good.  It's been a long time I have posted a tutorial for an embroidery stitch.  Today I am happy to share with you the step by step tutorial for doing the tulip stitch.  This stitch belongs to the chain stitch family.  It is a simple stitch that can be worked as a stand alone stitch or it can be stitched in a line. Let's see the tutorial.  For doing this stitch it will be well and good if you know how to do lazy daisy stitch

Video tutorial 👇

Start with a inverted lazy daisy stitch.


An inverted lazy daisy is made.

Now bring the thread up to the left of the lazy daisy.  The point the thread comes up with be in the middle of the stitch and pass the needle through the tail of the lazy daisy without picking up the fabric. 

Now put the needle in through a point to the right of the lazy daisy stitch  i.e) symmetrical to the point where the thread comes up.  Pull through the thread.  It will take the shape of a broad 'v'.  
Tulip stitch is formed.

Hope this tutorial is clear and helpful.  Will be back with another design soon.  Till then, have a nice day.

Saturday, February 26, 2022

Overylayed Threaded Chain Stitch - Embroidery Stitch Tutorial

Hi all
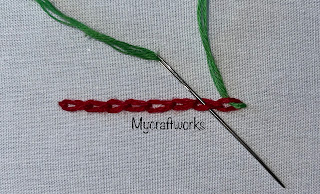
Hope all are doing good.  In my embroidery Stitch tutorial series, today I am happy to share with you the step by step tutorial for doing overlayed threaded chain stitch.  


For this tutorial we should be know how to do chain stitch.   Here I have done the base chain stitch row using 4 strands of thread.


  • For the overlaying part I have chosen a contrast colour thread with 6 strands.  
  • Bring the thread up at one end of the chain stitch.
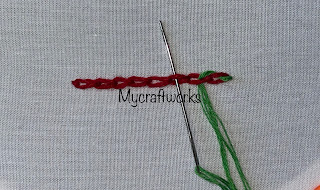
  • Pass the thread through the chain loop from inside the chain without the picking the fabric.  I have started to pass the needle facing upwards. 

Now pass the needle through the next chain loop with the needle facing downwards. 

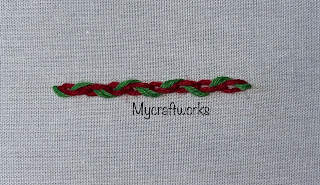
Repeat the same alternating the direction of the needle in each chain loop.

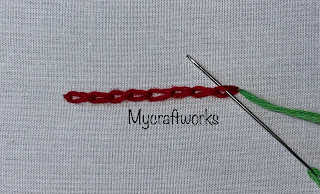
A fnished row of overlayed threaded chain stitch looks like this.

Hope this tutorial is useful.  Will be back with another stitch tutorial soon.  Till then, have a nice day.

*/