Showing posts with label satin stitch. Show all posts

Wednesday, July 26, 2023

Simple Embroidery design using woven flowers

 Hi all 

Hope all are doing well and good.  Happy to share with a simple embroidery design that used woven flowers .  


Video tutorial
———————

Stitches used
———————
Fern stitch 
French knots
Stem stitch 
Woven stitch for flowers 
Straight stitches 

Anchor thread numbers
——————————
88, 98, 101, 189, 330

Hope you all like this design.  Do watch this space for more stitch videos and embroidery designs.  Have a happy time with your needle and thread.  

Have a nice day.

Monday, February 27, 2023

Simple satin stitch flower

 Hi all

Hope all are doing well and good.  When coming to embroider a flower the first stitch that comes to my mind is buttonhole stitch/blanket stitch.  And my next preference is satin stitch to fill in the petals of a flower.  Satin stitch when worked carefully gives a smooth finish.  Let me show you how I have worked a simple flower using satin stitch.

Video Tutorial
------------------------

Hope all of you like it.   Soon I will come up with an embroidery design that uses this flower.  Till then have a nice day.  

Thursday, September 15, 2022

Satin stitch flowers

 Hi all

Hope all are doing well and good.  Today I am happy to share with you an embroidery design that uses satin stitch for flowers and leaves.  This design can be used as an all over design for Kurtis and sarees.  


Video 


Pattern for the design 
————————————

Stitches used
——————
Flowers - satin stitch- 3 strands 
Centre of flowers - French knots - 6 strands- 2 wraps 
Stem - splitted back stitch- 3 strands 
Leaves - satin stitch - 3 strands 

Hope all of you like this design. See you soon with another design/stitch.  Till then, happy embroidering and have a nice day.

Tuesday, August 23, 2022

Lazy daisy popcorn flower design

 Hi all

Hope all are doing well and good.  Today I am happy to share with you another embroidery design that uses lazy daisy popcorn stitch. I will post the stitch tutorial tomorrow.  Now I am posting the design along with its design and link for video tutorial.

Pattern for the design 

Stitches used
———————
Flower - Lazy daisy popcorn stitch 
Leaves - Blanket stitch 
Stem - Back stitch 
Buds - lazy daisy base with popcorn stitch 
Circles- satin stitch 

The whole embroidery is done using 6 strands of thread to give a bold look.  There is a video tutorial in my channel.  Do watch it if you are interested.  

Tomorrow i will be back with the stitch tutorial for lazy daisy popcorn stitch.  Till then happy embroidering and have a nice day.

Wednesday, August 3, 2022

French knot flowers embroidery pattern

 Hi all

Hope all are doing well and good. Today I am happy to share with you a simple embroidery design to practice French knots. 


Pattern for this design
------------------------------
Stitches used
-------------------
Petals - French knots (12 strands, 1 wrap)
Centre of flower - French knots (12 strands, 1 wrap)
Stem - stem stitch (6 strands)
Leaf - Satin stitch (6 strands)

Hope all of you like this design.  Do give a try and drop in your feedbacks in the comments section.  Happy embroidering and have a nice day.

Friday, May 20, 2022

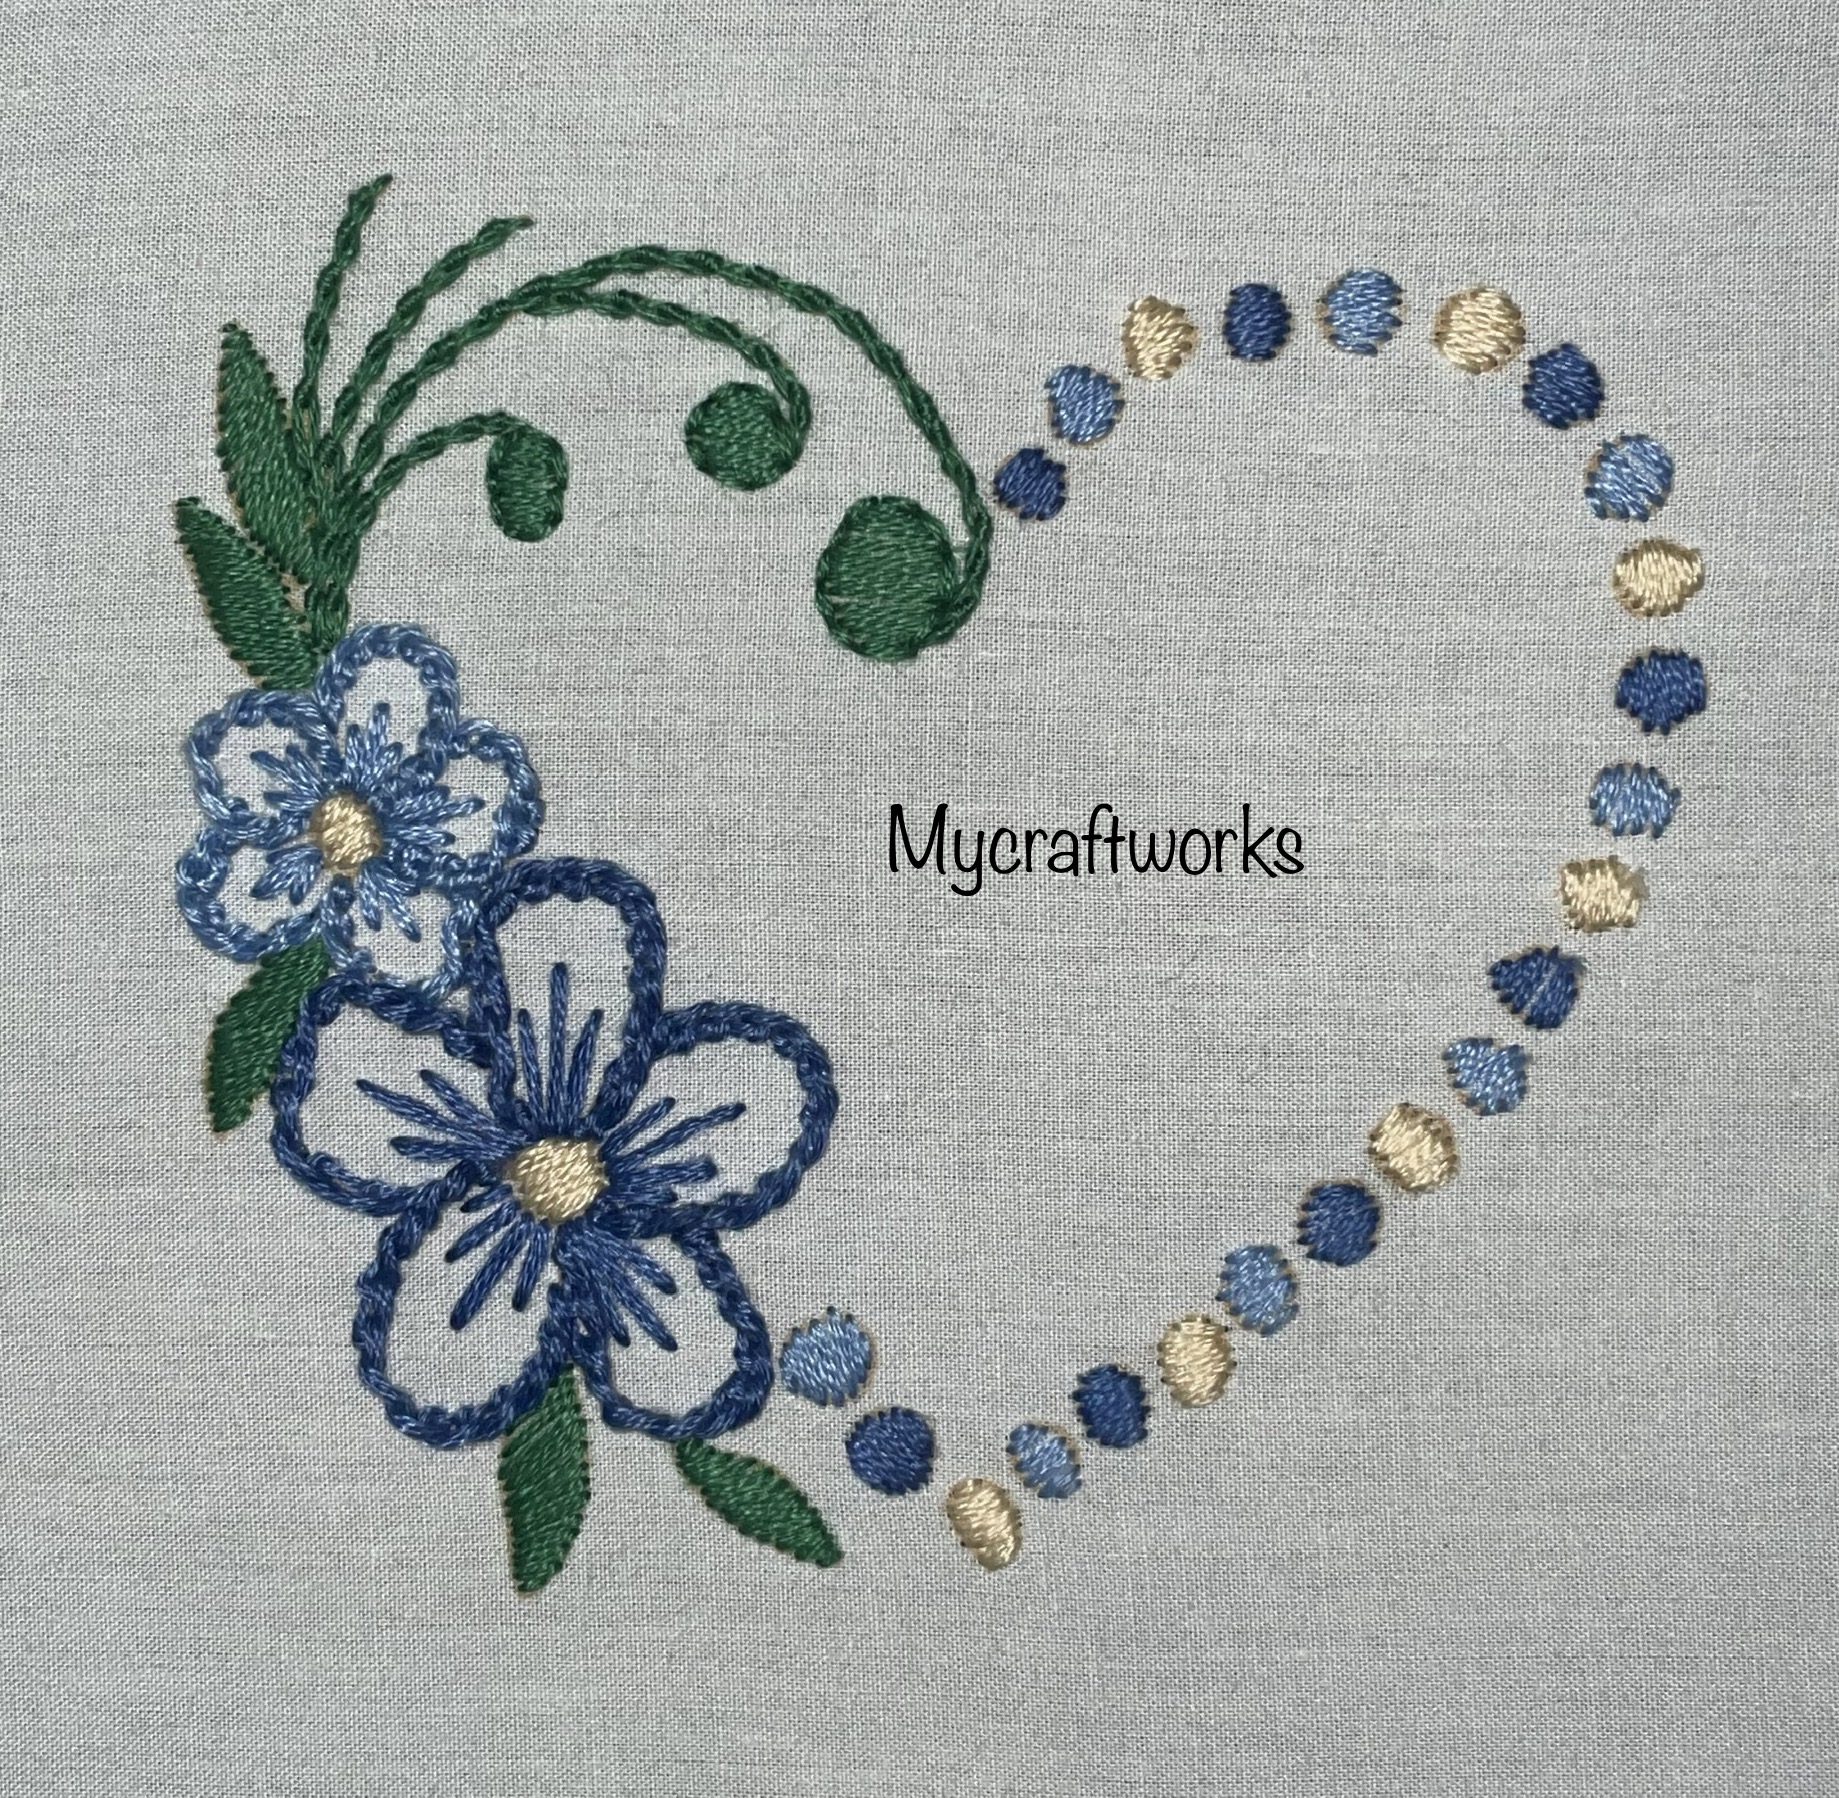
Floral Embroidery Heart finish - Part 2

 Hi all

Hope all are doing well and good.  On Monday I have posted the part 1 of a floral embroidery heart design. Today I have completed it and happy to share with you all.  Have a look at it.


Leaves - Satin stitch
End of stems - Satin stitch outlined with back stitch
The circles that takes the heart shape - Satin shape.

The direction of the satin stitch circles takes the shape of the design.  All the stitches are done using 3 strands. 

Video tutorial


Part 1 of the design can be found here.  Pattern can also be found there.    Hope all of you like this design.  I will be back with a mirror work in my next post.  Till then have a nice day.  

Monday, May 10, 2021

Embroidery Design - Satin stitch

 Hi all

Hope all are doing well and good.  In the embroidery design series today I am very much happy to share with you the design for practicing the satin stitch.  It is a basic hand embroidery stitch which is commonly used to fill shapes.  It is also known as Damask stitch.

The design I have posted today is a small design when worked with satin stitch gives soft surface. It is very easy to do.  Tomorrow I will be posting the tutorial for doing satin stitch and the tricks I follow while doing it.  We will see the design and pattern for it.


Pattern for the design
---------------------------------
Both the flowers and leaves are done in satin stitch and the curls are done in back stitch.  

Anchor thread numbers
Flowers - 328(2 strands)
           -  9(2 strands)
Leaves - 257 (2 strands)
Curls - 228 (3 strands)  
 
Hope all of you like this design.   You can view my other embroidery stitches with its designs here. Tutorial for satin stitch is here..  Till then, have a nice time with your needle and thread.  Don't forget to drop in your feedbacks in the comments section.  Do follow my blog for the more updates.  
Have a nice day.


Thursday, September 24, 2020

Embroidery Design - Herringbone Stitch

 Hi all,

I am here to share with you all the next embroidery design.  A simple and easy stitch. A stitch for beginners.  It fills up a space very quickly.  Also it works up for flower petals and leaves too.  

All the three flowers and its centre are worked in herringbone stitch, the stems are stitched in stem stitch and circles are stitched using satin st. 


PATTERN FOR THE DESIGN

                                                    ------------------------------------

Stitches Used
------------------
Flowers  - Heringbone stitch
Centre of flowers - Herringbone stitch
Stem - Stem stitch
Circles - Satin stitch

Threads Used - Anchor Embroidery threads(all stitches uses 3 strands of thread)
--------------------------------------------------------------------------------------------------
Yellow - 298
Orange - 925
Bright Red - 335
stem - 267
Circles - 295, 298

Hope all of you like this design.  Do give a try and let me know.  In my next post I will come up with a neck design of a kurti.  Till then, Happy embroidering. 

Thursday, January 5, 2017

Embroidery start up and plans for 2017

Hi all,

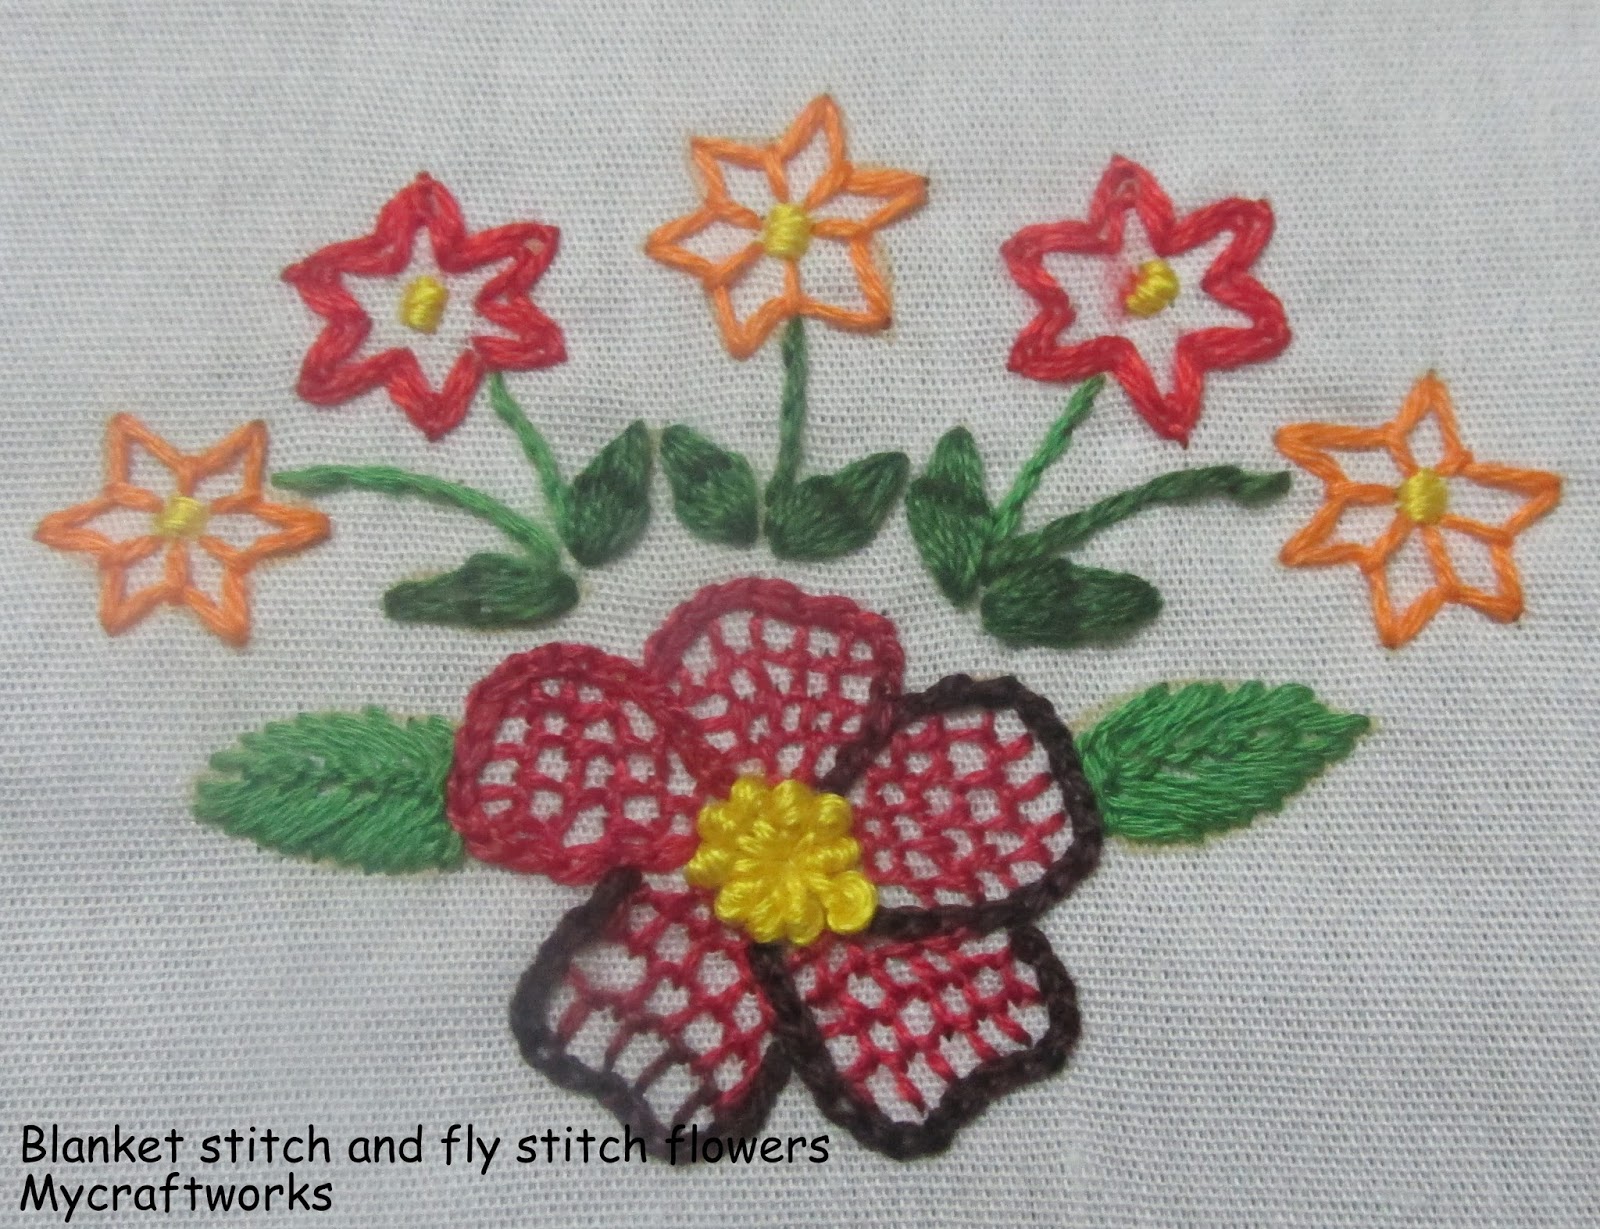
We r in the 5th day of Jan and it looks like the days are running.  I have started up my crafty journey with these two embroidered flowers.  Last year I didn't stitch up any surface embroidery.  I was more into kasuti work and kutch work.  So, to refresh me t have stitched these two designs.  hope all of you like it.


Small flowers are worked in fly stitch.  For all the stitches I used two strands of thread. I will come up with more embridered flowers this year.  I will be finishing these pieces of embroidery as a wall hanging quilt. 

This new year I didn't take any resolutions.  But I have decided to be happy with what I have.  I will try to be patient whatever situations may be and should accept the ups and downs if any with a calm mood.  

On the crafty front, I am continuing with the granny stripe blanket, Mega cross stitch project and the kasuti sampler.  

This year I am participating in the smalls SAL cross stitch.  Last year I was not regular in this SAL.  So this year I have selected the Lucie heaton fairies chart to stitch and framing in the end of the year.  Also, Started to do the rainbow SAL. The borders and the first part are published.  Any of you want to do cross stitching with no color changes often this SAL is for you.  Each block is stitched up in one color.

Apart from these, I have the following plans for 2017.

  1. Finish Praying hands cross stitch(for sale in church)
  2. Needlepoint wall hanging kit
  3. Long stitch kit (These two kits are with me for a long time)
  4. Kasuti embroidery kurti
  5. Embroidered saree(Planning to do with kantha embroidery motifs)
  6. 5 crochet bags and 5 purses(interlocking crochet)(for sale in church)
  7. Practice long and short stitch(L&S) and finish atleast one small project using L&S
All these project will take time and if I get bored I will be stitching small motifs or flowers or practice designs in any new forms of embroidery(like hardanger, needlepoint).

I have some more small designs and a big finishes to show you from last years crafty journey.  Will come back with the embroidered patches.  Till then happy crafting.

Saturday, May 9, 2015

Embroidered Panel

One of my resolution this year  is to learn stitching a kurti.  I was not satisfied with my tailor and since I know the basics of sewing and cutting I have decided to learn myself.  To my surprise I have found a youtube video tute on cutting and sewing a kurti from a to z.  I have bought a black color cotton fabric to stitch.  To add some personal touch to the kurti I thought of adding a embroidered panel in front and to my luck I have found another tute for adding a panel also.  So with all these videos downloaded and fabric ready I have started to embroider the panel and it is ready to be attached to the fabric..  

Here is the embroidered piece.  I have embroidered it in a black color silk cotton which I have some leftover fabric in my stash.  Used basic stitches like satin stitch for flower, herringbone stitch which is in yellow color, fishbone stitch for the leaves in the stem, herringbone stitch for the leaves around the flower, and backstitch for the stem.

The same design is repeated three times to get the necessary length for the panel.  If any of you interested to try this design do drop in a comment. I will post it on my blog.


I should add some sequins or beads or stones to the center of the flower.  Doing satin stitch takes time but the result is worth doing it.  I like the smoothy finish of the satin stitch.  It is done with 1 strand of thread , other stitches are done with 2 strands of threads.  

Updated:
------------
I am linking this post  to Let's have a stitchery party hosted by  supermomnocape.  Click here to see the party.

Hope all of u like it.  Do drop in your comments and feedback as it boosts me a lot and encourages me to do more.  Bye. Have a nice weekend.

Friday, January 31, 2014

Satin stitch design

Last year when I subscribed for the Anchor Needle n thread magazine i got a small kit with the first issue.  It contains a small design to be embroidered in a hankie with the fabric, thread and needle.  I have decided to do a simple project in between my new chikan kurti project.  so I have taken the kit and embroidered this design.  

The embroidery is done using Satin stitch.  The edges of the hankie has to be completed.  I thought of doing a simple crocheted border.  Now, have a look at the design.


I didn't get the direction of the stitches right.  Should try more in satin stitch.  Currently, I am doing a project on chikan embroidery kurti and a cross stitch puppy.  In between some crochet works are also going on.  I will meet u with a crocheted doily in next post. Till then, Happy embroidering.

Friday, January 27, 2012

Design from my hand kerchief

I have used this design for my hand kerchief.
Stitches used:
                     satin stitch for pink flowers.
                     Lazy daisy for blue flowers inside hat.
                     Stem stitch as filling stitch for ribbon and hat.
*/